.svg)
.svg)
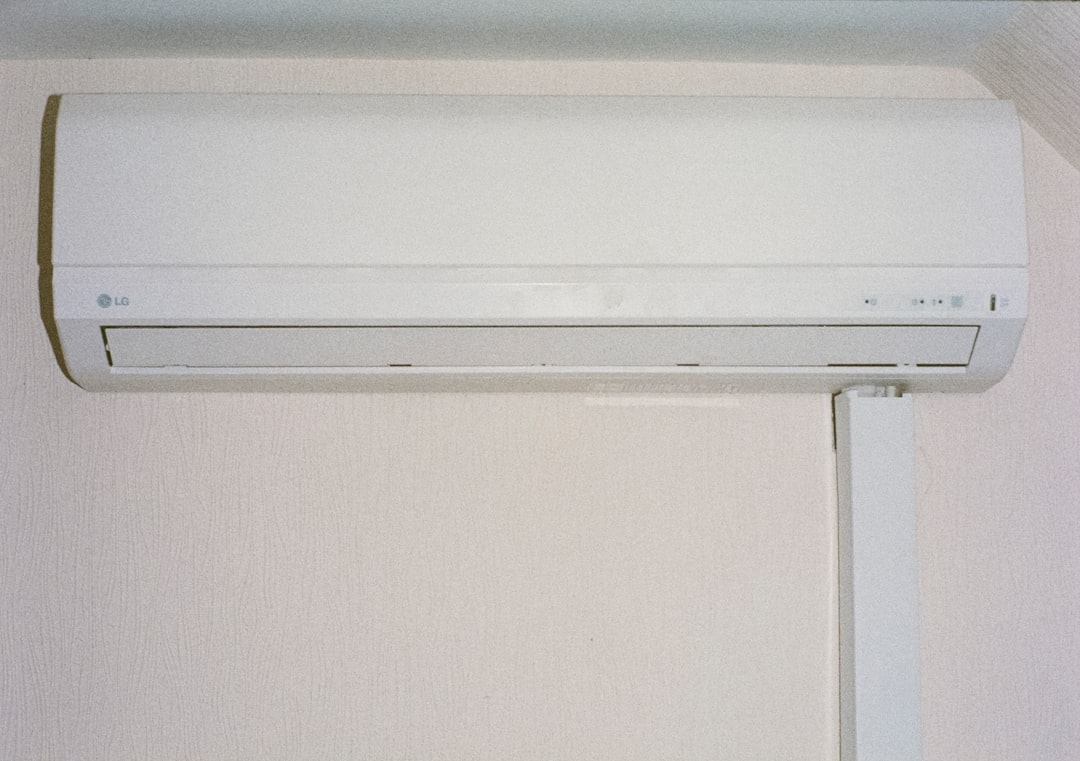
Why Clean Mini Split Coils Matter for Your Home's Comfort
Mini split coil cleaning is essential maintenance that dramatically improves your system's efficiency, air quality, and lifespan. Over time, these units can get surprisingly dirty inside.
Quick Answer for Mini Split Coil Cleaning:
- When: Every 4-6 months or when you notice reduced airflow or musty odors.
- Why: Prevents 25-40% efficiency loss, eliminates mold and bacteria, and reduces energy bills.
- How: Turn off power, protect electronics, spray coil cleaner, let it sit for 5-10 minutes, and rinse gently.
- Safety: Always wear PPE and ensure proper ventilation.
Dirty coils are silent energy thieves. They force your system to work harder, drive up your electric bill, and create a breeding ground for mold and bacteria—a problem that worsens quickly in Birmingham's humid climate.
Fortunately, most homeowners can clean their mini split coils in about 90 minutes per indoor unit. This guide will show you how to use the right tools and techniques to restore your system's peak performance, protecting your family's health and your wallet.
, Better Air Quality (eliminates mold, bacteria, and odors), and Longer System Lifespan (prevention of premature component failure and costly repairs) - mini split coil cleaning infographic")
Why, When, and How Dirty Coils Affect Your System
Your mini split can't cool or heat effectively with dirty coils. When dust, grime, and biological growth accumulate, your entire system struggles.
A dirty coil forces your system to work overtime, driving up energy bills while circulating contaminated air. System performance suffers immediately, as dirty coils hinder heat transfer. Energy consumption can spike by 25-40%, and the health impacts from circulating mold and bacteria can affect your family's wellbeing. A regular maintenance schedule is key to preventing these issues.

The Primary Reasons for Cleaning
Understanding the costs of dirty coils makes cleaning a clear priority.
- Improved efficiency: Dirt on the evaporator coil acts as an insulator, forcing your system to run longer to cool your home. Cleaning restores proper heat transfer and lowers energy use.
- Better indoor air quality: Dirty, damp coils are breeding grounds for mold, mildew, and bacteria, especially in humid climates. Cleaning eliminates these contaminants and the musty odors they cause, known as "dirty sock syndrome." This is crucial for preventing respiratory problems from mold.
- System longevity: A dirty system forces the compressor—the most expensive component—to work harder, leading to premature wear and costly breakdowns. Regular mini split coil cleaning extends your system's lifespan.
- Odor elimination: Cleaning directly removes the source of mold and mildew, making your home more comfortable.
Signs Your Mini-Split Coils Need Cleaning
Your system will give you clear warning signs when it's time for a cleaning:
- Reduced airflow: Air from the indoor unit feels weaker than usual.
- Musty or foul odors: A gym-sock or musty smell indicates mold and bacteria growth.
- Increased energy bills: A sudden spike in electricity costs suggests your system is working overtime.
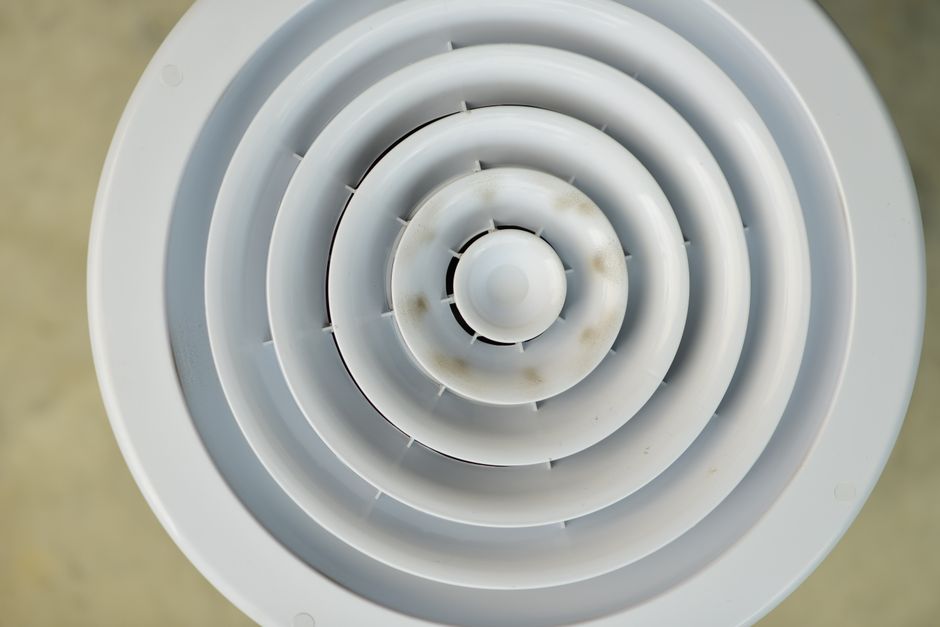
- Visible dirt or dust: You can see buildup on the vents or coil fins.
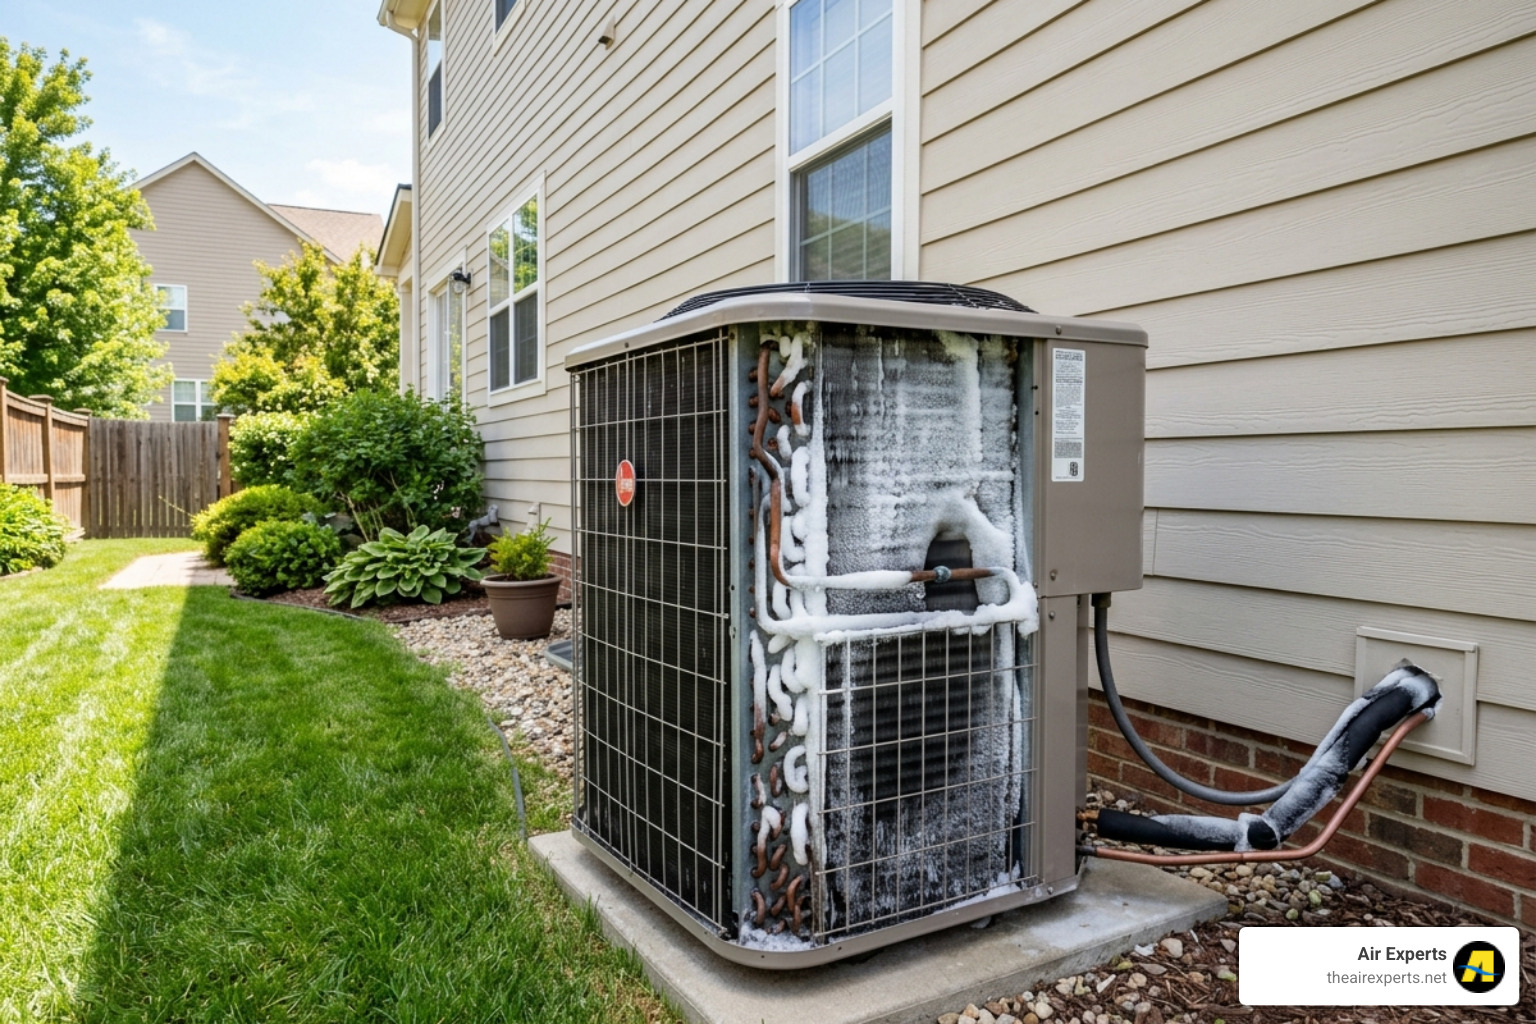
- Ice forming on coils: Restricted airflow can cause the coil to get too cold and freeze. Turn the system off immediately if you see ice.
- Water leakage: A clogged drain pan or line can cause water to leak from the indoor unit.
How Often Should Coils Be Cleaned?
While the frequency depends on your environment, here are some general guidelines.
- Annual cleaning: A professional mini split coil cleaning once a year is a good baseline for most systems. Check your air filters monthly, especially during high-usage seasons.
- Environmental factors: Your coils will get dirty faster in certain conditions. Plan for more frequent cleanings (e.g., every 6 months) in:
- Homes with pets due to dander and hair.
- High humidity climates like Birmingham's, which promote mold growth.
- Dusty environments near construction, busy roads, or areas with high pollen counts.
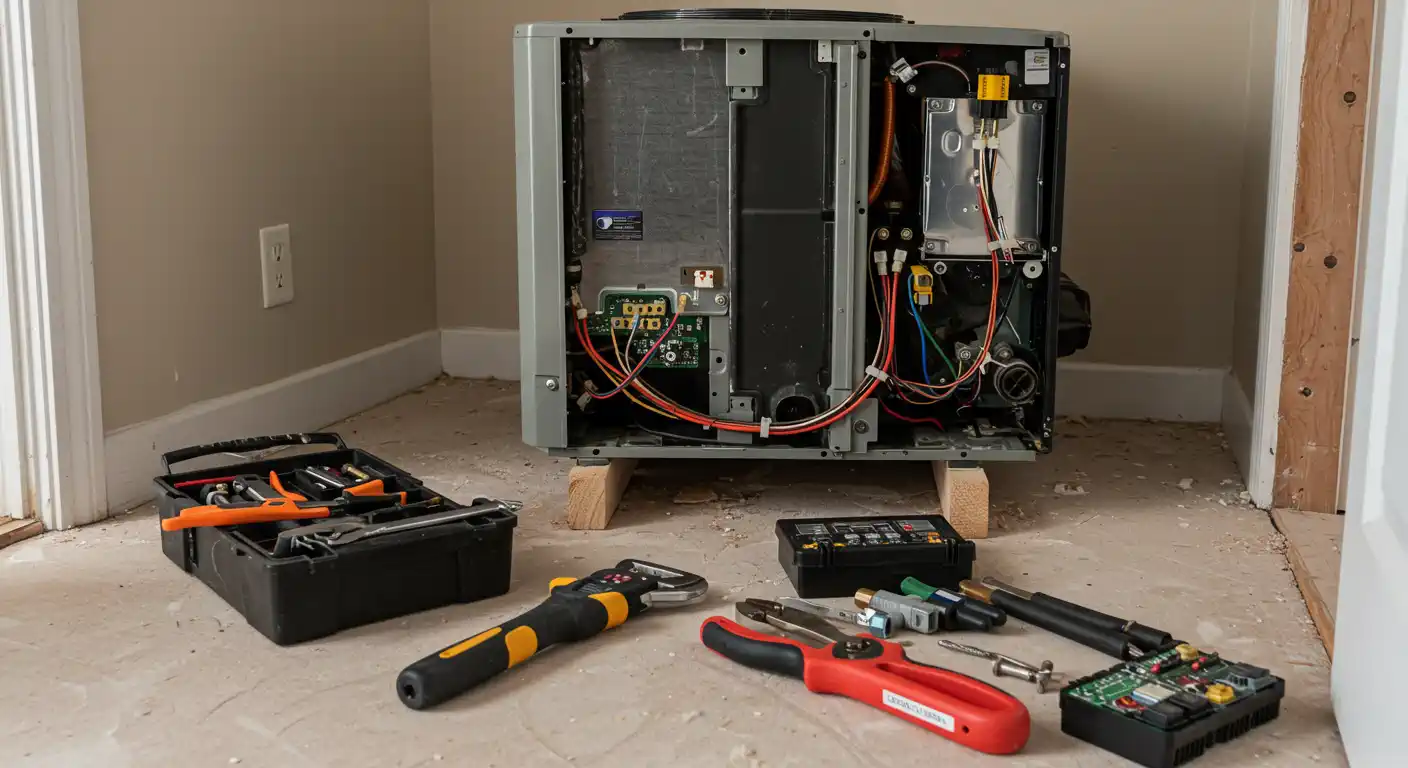
Essential Tools and Safety Precautions
Proper preparation is key to a safe and effective mini split coil cleaning. Gathering your tools and understanding the safety risks beforehand will make the process much smoother.

Tools and Materials for the Job
Here's what you'll need to do the job correctly:
- Safety Gear: This is non-negotiable. Use a face mask, safety glasses, and chemical-resistant gloves.
- Cleaning Tools: A basic screwdriver set, a wet/dry vacuum with a bristle brush, a soft brush for delicate fins, and a pump sprayer for controlled application.
- Cleaning Solution: Use a non-corrosive coil cleaner specifically designed for mini splits. These foaming, alkaline cleaners are tough on grime but gentle on coils.
- Containment: A mini-split clean kit is highly recommended. This bib attaches to the indoor unit to funnel dirty water into a bucket, preventing messes. You'll also want plastic sheeting, tape, a bucket, and clean cloths.
- Outdoor Unit: A water hose is needed for rinsing the outdoor condenser.
Critical Safety Precautions
Follow these essential safety rules to prevent injury and damage:
- Turn Off Power: Before you do anything, turn off the power to the mini split at the circuit breaker. This is the most important step.
- Wear Protective Gear: Always wear your face mask, safety glasses, and gloves to protect yourself from chemicals and airborne contaminants.
- Ensure Good Ventilation: Open windows and doors to allow fresh air to circulate and disperse cleaning fumes.
- Protect Electronics: Use plastic sheeting and tape to completely cover all wires, circuit boards, and electrical connections to prevent water damage.
- Handle Coil Fins Gently: The aluminum fins are delicate and bend easily. Always brush and vacuum vertically (up and down), never horizontally across the fins.
- Protect Your Surroundings: Lay down drop cloths or old towels to protect floors and furniture from drips and spills.
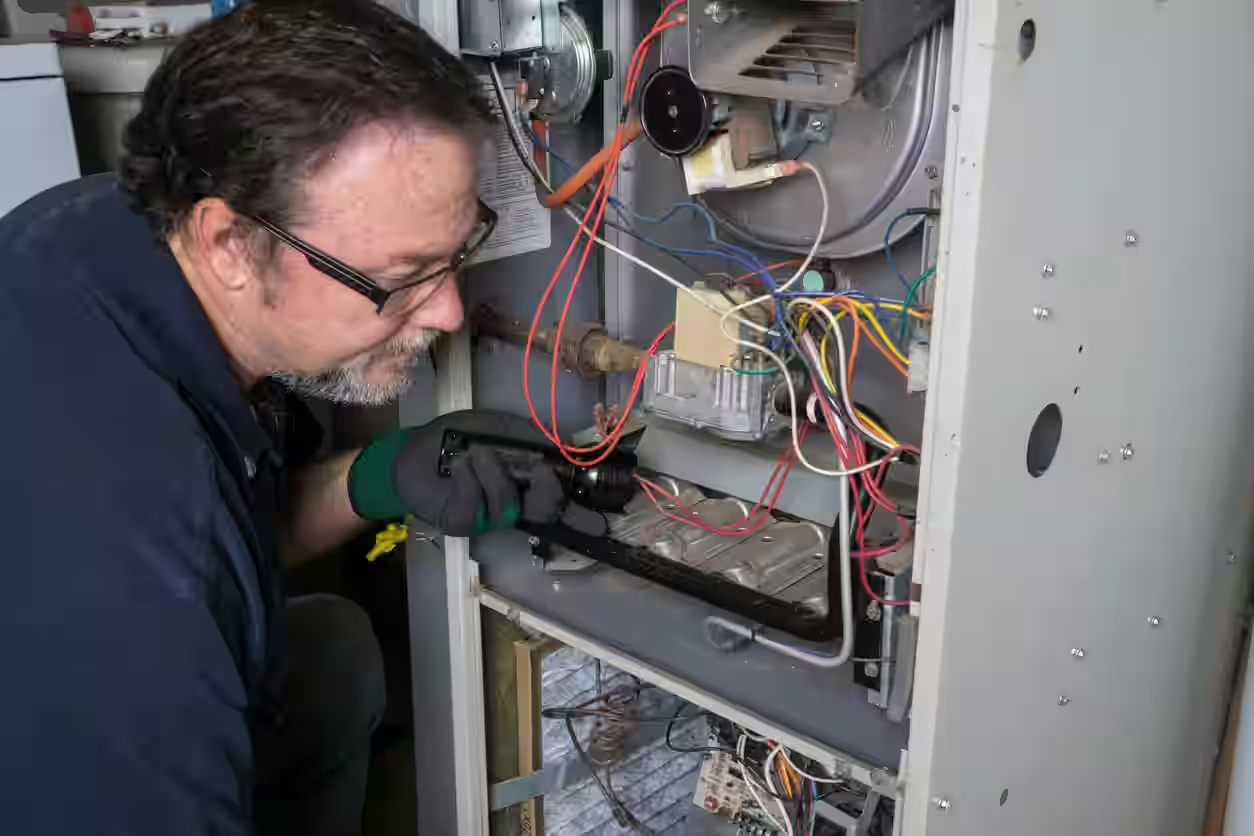
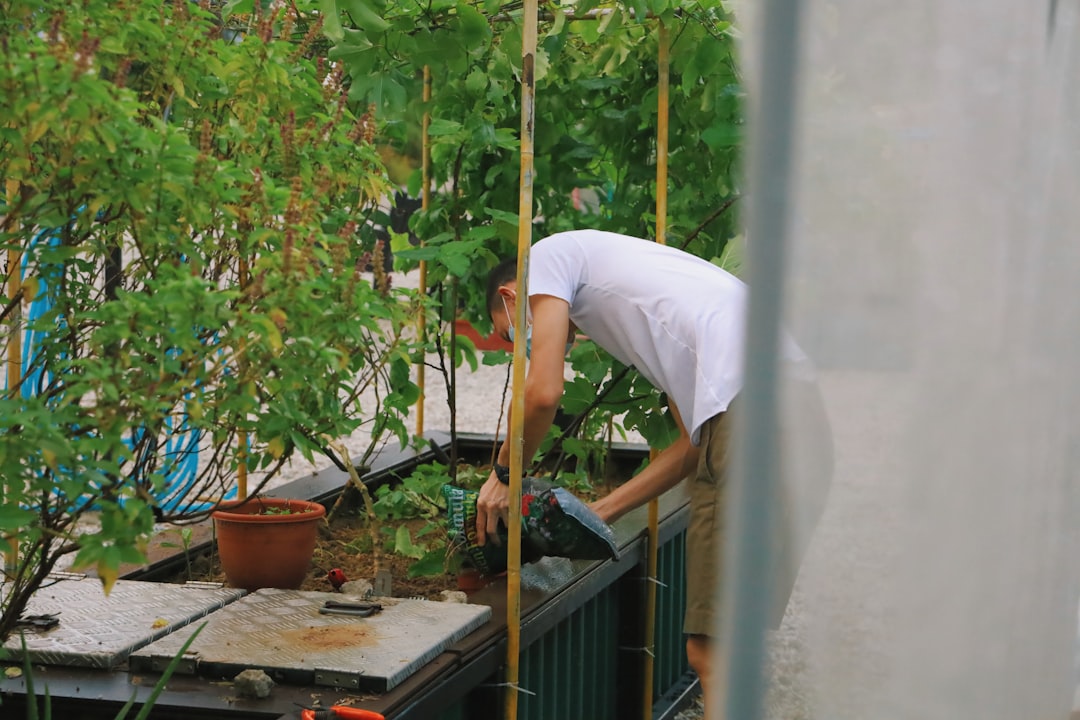
Your Step-by-Step Guide to Mini Split Coil Cleaning
With your tools and safety gear ready, it's time to perform the mini split coil cleaning. This guide covers both the indoor and outdoor units. Be patient and gentle with your equipment for the best results.
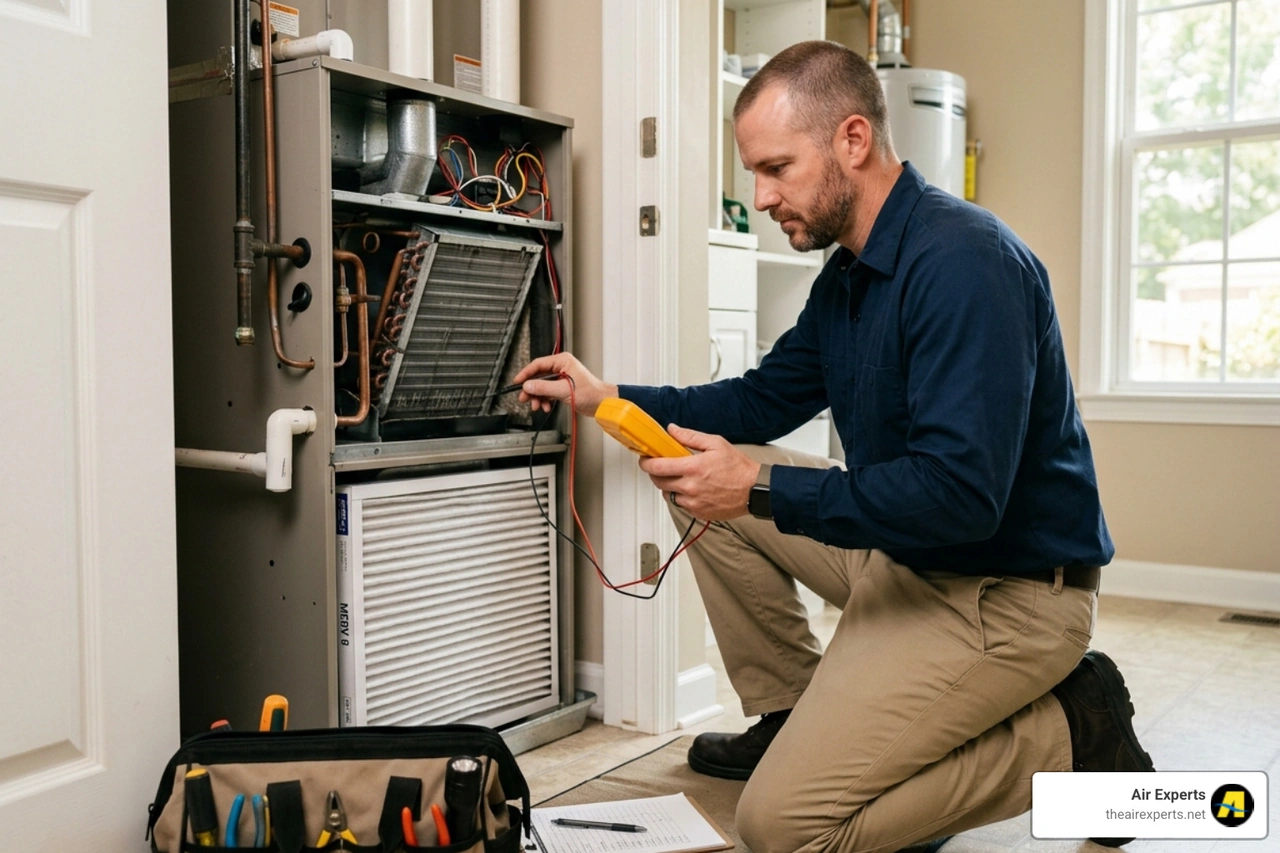
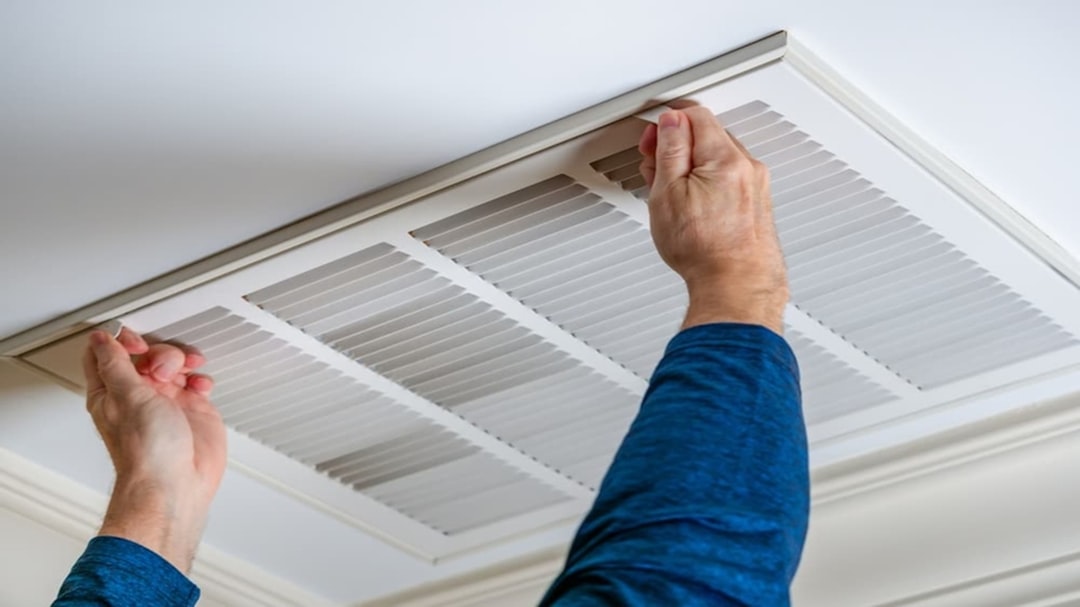
Indoor Unit Mini Split Coil Cleaning
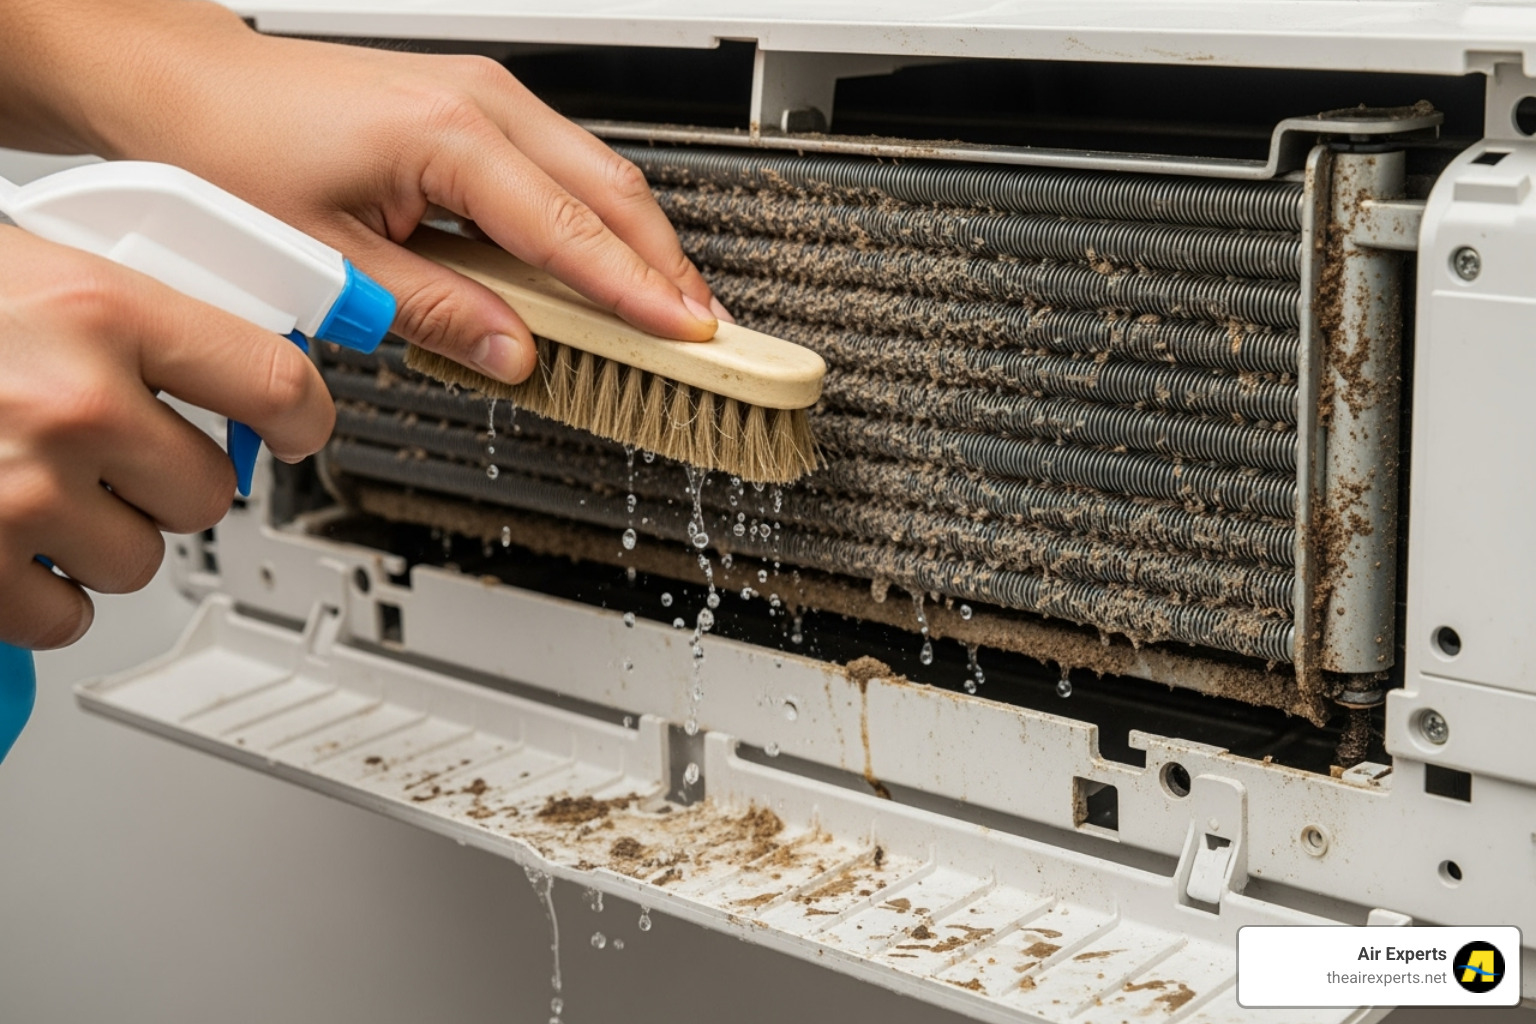
The indoor unit's evaporator coil is where most dust, allergens, and mold accumulate.
- Power Down and Prepare: Turn off the power to your mini split at the circuit breaker. Lay drop cloths below the unit to protect your floors.
- Clean the Filters: Open the front panel, remove the air filters, and vacuum them. If they are very dirty, wash them with mild soap and water using a soft brush. Let them air dry completely.
- Disassemble the Casing: Use a screwdriver to remove the outer casing. Keep screws in a small bowl. The front panel typically unclips or slides off to expose the coil and blower wheel.
- Protect Electronics: Carefully cover any exposed wires, circuit boards, and electrical connections with plastic sheeting and tape.
- Install the Cleaning Kit: Attach a mini-split clean kit around the unit. This bib will direct all dirty water into a bucket.

- Initial Vacuuming: Use a wet/dry vacuum with bristle brush to gently remove loose debris from the evaporator coils and blower wheel.
- Apply Coil Cleaner: Wearing your PPE, fill a pump sprayer with non-corrosive coil cleaner. Spray liberally over the entire coil and blower wheel, paying extra attention to the fan blades.
- Dwell Time: Let the cleaner sit for 5-10 minutes (check the product label) to allow it to foam and break down grime.
- Rinse the Coils: Use your pump sprayer filled with clean water to thoroughly rinse the coils and blower wheel. Continue until the runoff water in your bucket is clear.
- Clean the Condensate Pan and Drain: Spray the pan beneath the coils with cleaner, wipe it out, and ensure the drain line is clear. Test it by pouring a small amount of water into the pan.
- Dry and Reassemble: Allow all components to air dry completely. Reassemble the casing, ensuring all clips and screws are secure. Re-insert the clean, dry filters.
- Power On: Restore power at the breaker. Run the unit in fan-only mode for a few minutes to dry any remaining moisture.
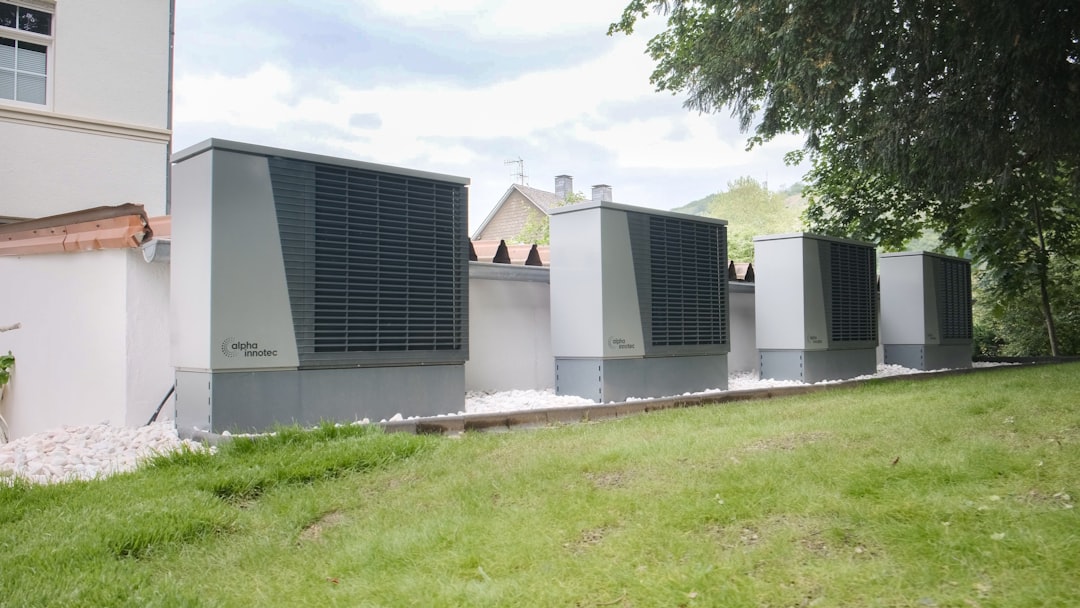
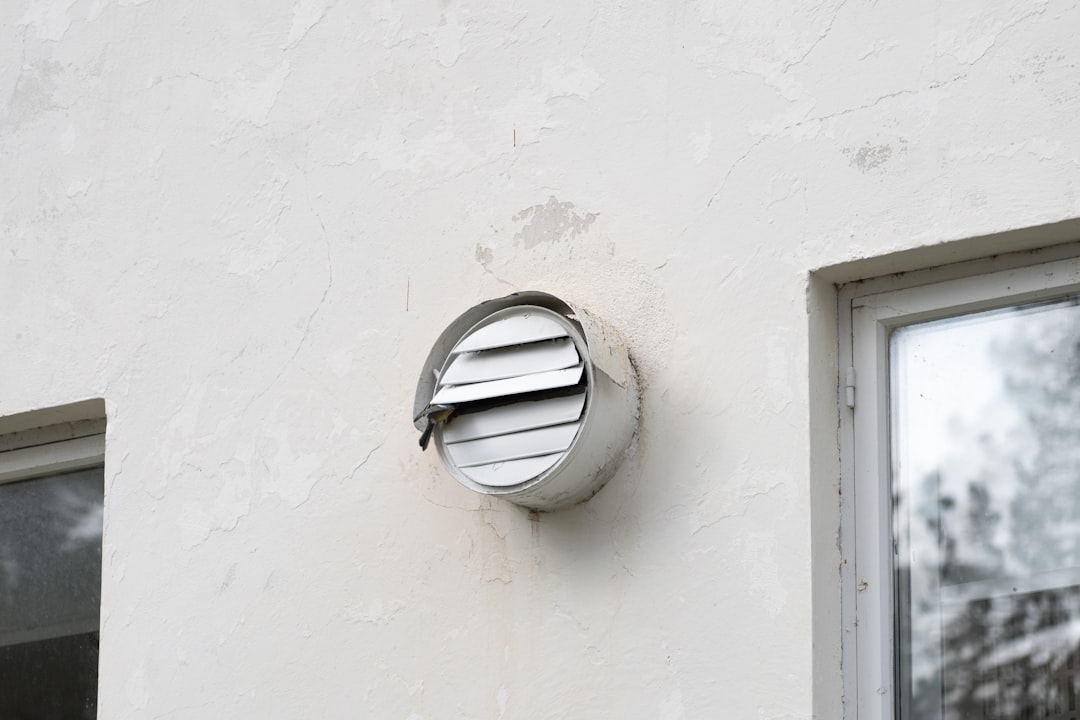
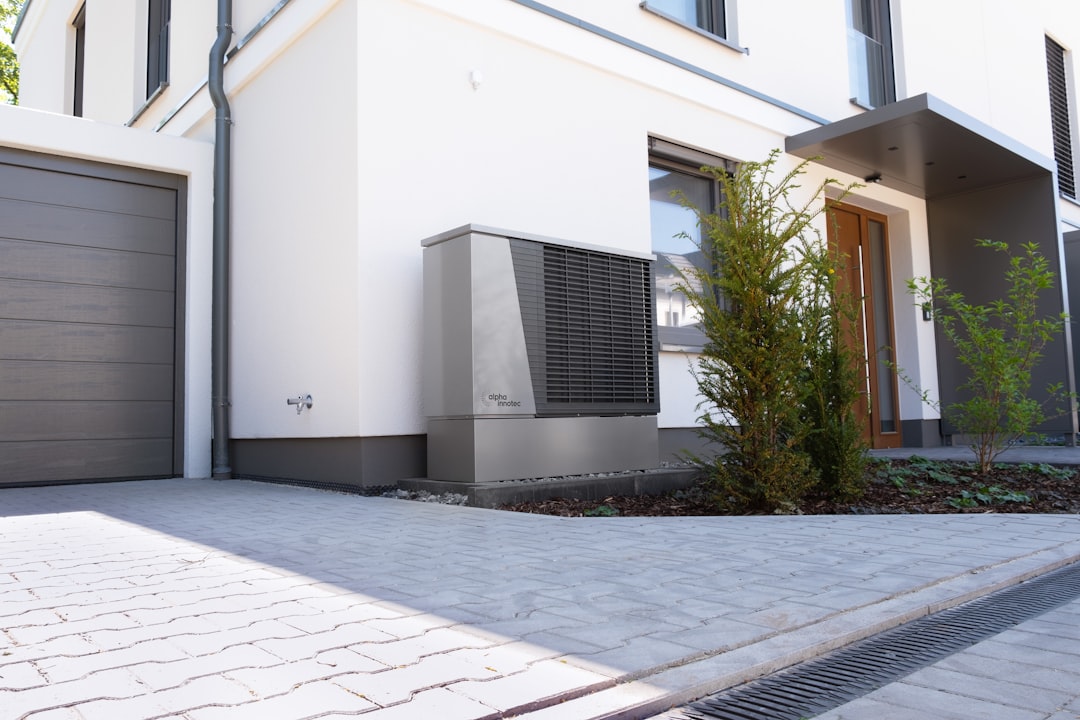
Outdoor Unit Mini Split Coil Cleaning
The outdoor condenser unit battles the elements, collecting leaves, pollen, and dirt.
- Power Down and Clear Debris: Turn off power at the circuit breaker. Remove leaves, twigs, and other debris from on and around the unit. Ensure there is at least 18-24 inches of clearance around the unit.
- Remove Protective Grille: If applicable, unscrew and remove the outer grille for better access to the condenser coils.
- Initial Vacuuming: Use your vacuum with a brush attachment to gently remove loose dirt and webs from the fins.
- Apply Coil Cleaner: Spray a coil cleaning spray formulated for outdoor condensers evenly across the fins.
- Rinse Thoroughly: Use a water hose on a gentle spray setting to rinse the coils. If possible, rinse from the inside out to push dirt away from the unit. Rinse until the water runs clear.
- Clean Fan Blades and Housing: Wipe down the exterior casing and fan blades with a damp cloth.
- Check Condensate Drain: Clear any debris from the outdoor unit's drain hole.
- Reassemble and Power On: Replace the grille, restore power at the breaker, and your cleaning is complete.
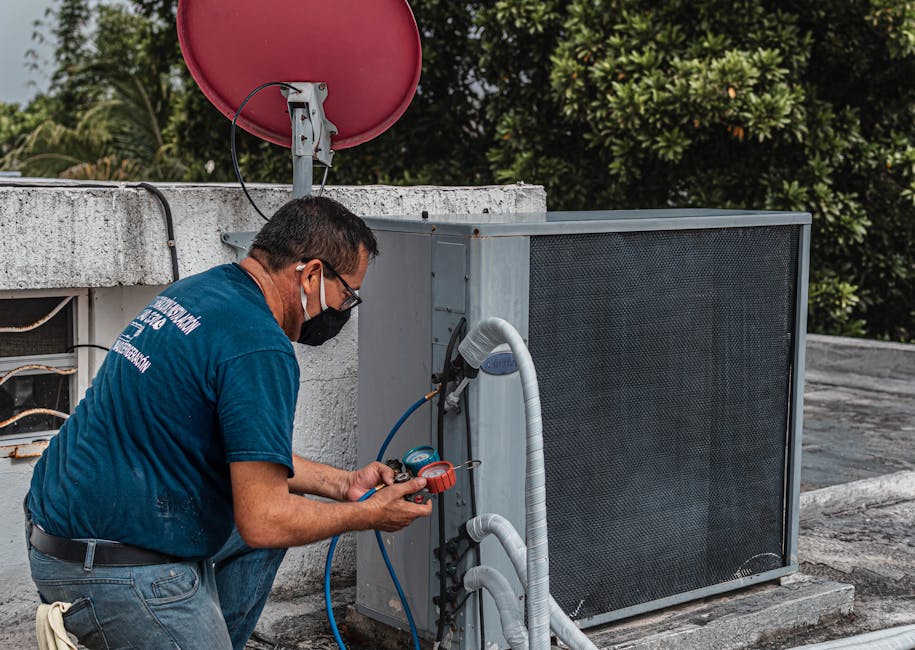
When to Call a Professional
While DIY mini split coil cleaning is effective for routine maintenance, some issues require professional expertise. At Air Experts, we believe in honest service, and that includes telling you when a problem is best left to a trained technician.
Signs You Need an HVAC Technician
It's time to call a professional if you encounter any of these issues:
- Persistent ice buildup: If coils freeze up even after cleaning, it could signal a deeper problem like low refrigerant or a failing motor.
- Suspected refrigerant leaks: Hissing sounds, oily residue, or a system that blows warm air are signs of a refrigerant leak. Handling refrigerant requires special certification and is not a DIY job.
- Electrical problems: Frequently tripped breakers, burning smells, or a non-responsive unit indicate electrical faults that require a professional diagnosis.
- Deep-seated mold growth: If mold has spread deep into the blower wheel or other inaccessible areas, a professional cleaning with specialized equipment is necessary.
- Significant disassembly required: If your unit is difficult to take apart without breaking plastic clips or components, it's safer to have a technician handle it.
- Strange noises after cleaning: New banging, grinding, or buzzing sounds could mean a component was damaged or knocked loose.
The Benefits of a Professional Tune-Up
A professional service goes beyond a simple cleaning and offers several advantages:
- Comprehensive inspection: Technicians check the entire system, including electrical connections, drain lines, and all moving parts.
- Specialized tools and expertise: We use commercial-grade cleaners and have the experience to handle all mini split models and hard-to-reach areas.
- Refrigerant level checks: Only certified technicians can legally and safely check and adjust refrigerant levels to ensure optimal performance.
- Electrical component testing: We test connections and measure electrical draw to catch potential hazards before they become major problems.
- Guaranteed results and peace of mind: Professional service ensures your system is running at peak efficiency and reduces the risk of unexpected breakdowns.
Frequently Asked Questions
Here are answers to some of the most common questions homeowners have about mini split coil cleaning.
Can cleaning mini-split coils really get rid of musty odors?
Yes, absolutely. That musty "dirty sock syndrome" smell is caused by mold, mildew, and bacteria growing on the damp, dirty evaporator coils. As your system runs, it circulates these odors throughout your home.
A thorough mini split coil cleaning removes the biological growth that causes the smell. By cleaning the coils and drain pan, you eliminate the source of the odor. Quality coil cleaners also contain antimicrobial agents that help neutralize odors and prevent future growth, leaving you with fresh, clean air.
What kind of cleaning solution is safe for mini-split coils?
Using the right cleaner is critical to avoid damaging your system. Always choose a non-corrosive, foaming coil cleaner specifically formulated for HVAC evaporators. These cleaners are tough on grime but gentle on the delicate aluminum fins and copper tubing.
While some products are marketed as "no-rinse," we recommend a gentle rinse with clean water from a pump sprayer. This ensures all loosened dirt and chemical residue are completely removed.
Avoid using household degreasers, bleach, or other harsh chemicals, as they can corrode the coils. When in doubt, a complete mini-split clean kit often includes a safe and effective cleaner.
How much does cleaning coils impact system efficiency and my energy bill?
The impact is significant. A layer of dirt on your coils acts as an insulator, obstructing heat transfer and restricting airflow. This forces your system to run longer and work harder to cool your home.
Studies show that neglecting coil maintenance can reduce a system's efficiency by 25-40%. This means a substantial portion of your energy bill is wasted. Regular mini split coil cleaning restores proper heat transfer and airflow, allowing your system to cool your home faster and with less energy. The energy savings often pay for the cost of cleaning over time, all while improving your comfort.
Conclusion
Regular mini split coil cleaning is a smart investment in your home's comfort and your finances. With just a small amount of time each year, you can ensure your system runs efficiently, provides cleaner air, and helps you avoid high energy bills.
This guide empowers you to handle routine maintenance with confidence. Knowing how to clean your coils saves you money and improves your family's air quality. However, it's also important to recognize when a job requires professional help. For persistent ice, electrical issues, or extensive mold, it's always best to call a certified technician.
At Air Experts, our reputation is built on honest, quality service. We provide straightforward solutions without upselling or pressure. Our skilled technicians have seen it all in Birmingham's humid climate and are ready to get your system back to peak performance.
Your mini split works hard to keep you comfortable. A little care goes a long way in ensuring it runs efficiently for years. When you need professional help, for comprehensive ductless AC repairs in Birmingham, AL, trust the experts. We're here to keep your home comfortable, your air clean, and your energy bills reasonable.


.svg)
.svg)


.svg)
.svg)
