.svg)
.svg)

Why Proper Carbon Monoxide Detector Installation Could Save Your Life
Proper carbon monoxide detector installation is a critical safety measure. This invisible, odorless gas—often called the "silent killer"—is responsible for over 400 deaths and 20,000 emergency room visits in the U.S. each year.
Quick Installation Guide:
- Install on every level of your home, including the basement
- Place near sleeping areas - within 10 feet of bedroom doors
- Mount 5 feet above floor or at eye level on walls
- Avoid kitchens and bathrooms - humidity interferes with sensors
- Test monthly and replace batteries annually
- Replace entire unit every 5-7 years
CO is produced by fuel-burning appliances like furnaces, water heaters, and fireplaces. Malfunctions or poor venting can lead to dangerous CO buildup without warning.
Properly placed detectors are essential for protecting your family from this invisible threat. Fortunately, installing CO detectors is straightforward with the right knowledge.

Where to Place Your CO Detectors for Maximum Safety
Proper carbon monoxide detector installation depends on correct placement. Since CO is colorless, odorless, and mixes with air, detectors must be strategically placed. Unlike smoke, which rises, CO distributes more evenly, so placement rules are different.
The United States Environmental Protection Agency (EPA) recommends mounting detectors about five feet above the floor (eye level). This height is within the breathing zone, allowing for effective air sampling.
How Many CO Detectors Do You Need?
The golden rule for carbon monoxide detector installation is at least one detector on every level of your home, including the basement. This is the minimum for protection, as CO can originate from sources on different floors.
For comprehensive coverage:
- Near sleeping areas: This is critical, as CO poisoning symptoms mimic drowsiness. Place detectors within 10 feet of each bedroom door.
- In hallways: Hallways are natural air distribution points. For hallways longer than 40 feet, use detectors at both ends.
- On stairways: Place detectors at the top of stairs leading to upper floors and the bottom of stairs to basements to catch CO as it moves between levels.
If you can only afford one detector, place it near the sleeping areas where it can wake everyone. But remember, multiple detectors are your family's best defense.

The Do's: Prime Placement Spots
For maximum protection without false alarms, install detectors in these key locations:
- Outside each bedroom: A detector in the hallway outside bedrooms provides an early warning while your family is most vulnerable.
- Living areas: Place a detector in rooms where your family spends significant time, especially if a fireplace or heating vents are nearby.
- The room above an attached garage: Car exhaust contains CO. A detector in the room or hallway above the garage is a crucial first line of defense.
- Near fuel-burning appliances: Place detectors in the general vicinity of furnaces and water heaters—close enough to detect a leak but far enough to avoid false alarms from normal operation.
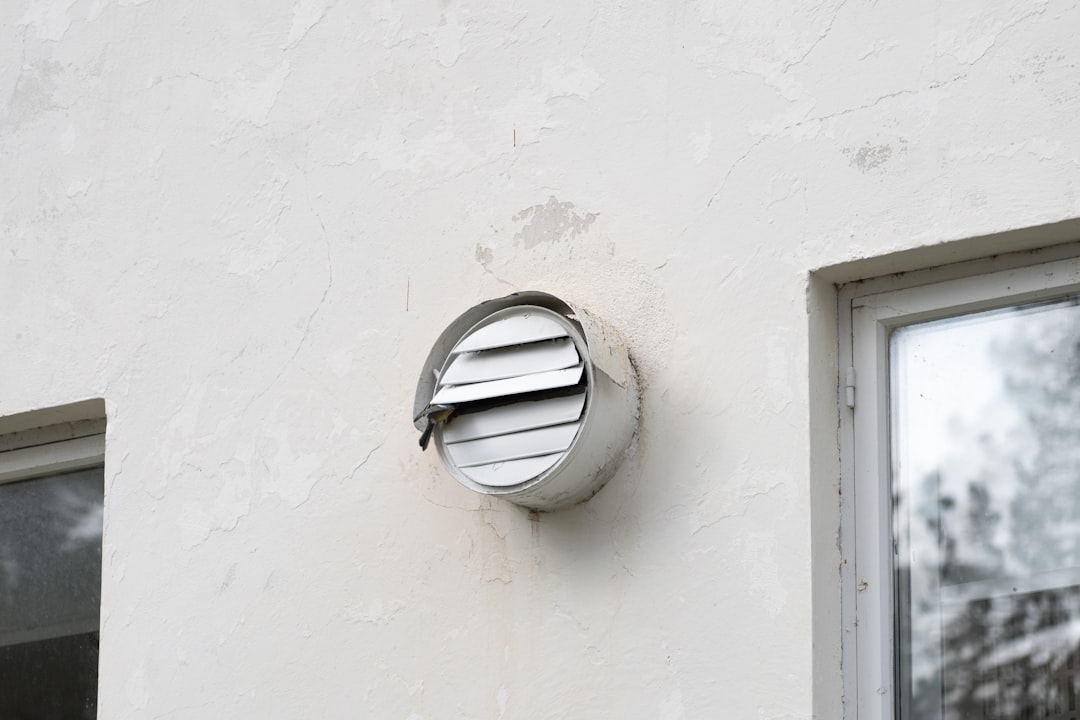
The Don'ts: Locations to Avoid
Avoid these locations to prevent false alarms and ensure proper function:
- Kitchens and bathrooms: Humidity and steam can interfere with sensors.
- Within 15 feet of heating or cooking appliances: Stoves, furnaces, and fireplaces can produce trace amounts of CO during startup, triggering false alarms.
- Direct sunlight and extreme temperatures: Avoid spots where temperatures drop below 40°F or exceed 100°F, as this can damage the unit.
- Near open windows, vents, or drafty areas: Drafts can blow CO away from the detector, delaying a warning.
- Behind furniture or curtains: Detectors need unobstructed airflow to work correctly.
- In the garage itself: Extreme temperatures and exhaust fumes can damage the detector. Place it inside your home near the garage entrance instead.
Choosing the Right Type of CO Detector
Choosing the right carbon monoxide detector is key to your home's safety. Here's a breakdown of the options to help you find the best fit for your carbon monoxide detector installation needs.
- Battery-powered detectors are easy to install anywhere without an electrician. They offer maximum placement flexibility. Some models feature 10-year lithium batteries that last the life of the unit.
- Plug-in detectors plug into a standard wall outlet and often include battery backup for power outages. However, placement is limited to available outlets.
- Hardwired detectors are wired into your home's electrical system, usually by a professional. Their main advantage is interconnection—when one alarm sounds, all connected units activate.
- Combination alarms detect both smoke and carbon monoxide in a single unit, simplifying installation and maintenance.
- Smart CO detectors are high-tech units with digital displays, voice alerts, and smartphone notifications, allowing you to monitor your home remotely.
| Type | Power Source | Installation Ease | Key Features |
|---|---|---|---|
| Battery-Powered | Replaceable Batteries | Easiest (DIY) | Portable, flexible placement |
| Plug-In | Electrical Outlet | Easy (DIY) | Battery backup common, limited by outlet location |
| Hardwired | Home Electrical | Professional | Interconnected, reliable power, battery backup |
| Combination | Varies | Varies | Detects both smoke and CO, fewer units needed |
| Smart CO Detector | Varies | Varies | Digital display, voice alerts, app notifications |
Regardless of the type, ensure it is UL-certified. This certification means the detector has passed strict safety and performance tests. Any of these options will protect your family when properly installed; the best choice depends on your home, budget, and desired features.
Your Step-by-Step Guide to Carbon Monoxide Detector Installation
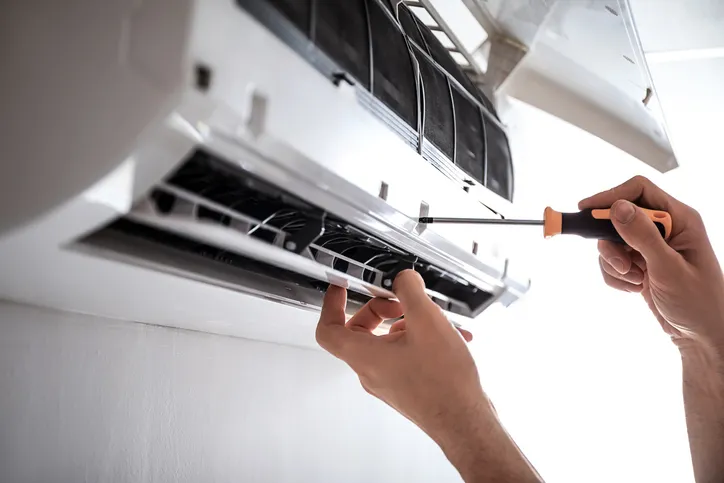
For most battery-powered and plug-in models, carbon monoxide detector installation is a straightforward DIY project that takes about 15 minutes. However, we always recommend hiring a professional electrician for hardwired units.
Pre-Installation Checklist
A few minutes of prep work will ensure a smooth installation.
- Read the manufacturer's instructions: Each model has specific requirements for safe and effective operation.
- Check your local building codes: Some areas have specific rules for CO detector placement. A quick search or call to your local building department can clarify requirements.
- Gather your tools: For a typical wall-mounted unit, you'll need a pencil, a drill (usually with a 3/16" or 1/4" bit), a screwdriver, and the included mounting hardware and batteries.
- Choose your exact location: Use our placement guidelines to find the best spot, ensuring it's accessible for future testing.
How to Install a Battery-Powered CO Detector
Follow these simple steps for a typical battery-powered unit:
- Mark your screw locations: Hold the mounting base against the wall and use a pencil to mark the screw holes.
- Drill your guide holes: Use the drill bit size specified in the manual to drill pilot holes.
- Install the wall anchors: Gently tap the plastic anchors into the holes until they are flush with the wall.
- Secure the mounting bracket: Align the bracket with the anchors and drive in the screws until snug.
- Install the batteries: Insert the batteries into the detector, matching the positive and negative terminals. For 10-year models, you may need to pull an activation tab.
- Attach the detector and test it: Twist the unit onto the bracket until it clicks into place. Press and hold the test button until the alarm sounds to confirm it's working.

Hardwired and Professional Installation
Hardwired detectors connect directly to your home's electrical system and should be installed by a qualified electrician. The benefit of this professional carbon monoxide detector installation is creating an interconnected alarm system. When one detector senses CO, all connected alarms sound simultaneously, providing a whole-house alert. Professional installation ensures everything is wired safely and correctly. You can find more info about improving your home's air quality on our site for a comprehensive approach to home safety.
CO Detector Maintenance and Lifespan
Once your carbon monoxide detector installation is complete, regular maintenance is required to keep the units functioning correctly. Many homeowners forget about their detectors until the low-battery chirp begins.
Routine Testing and Cleaning
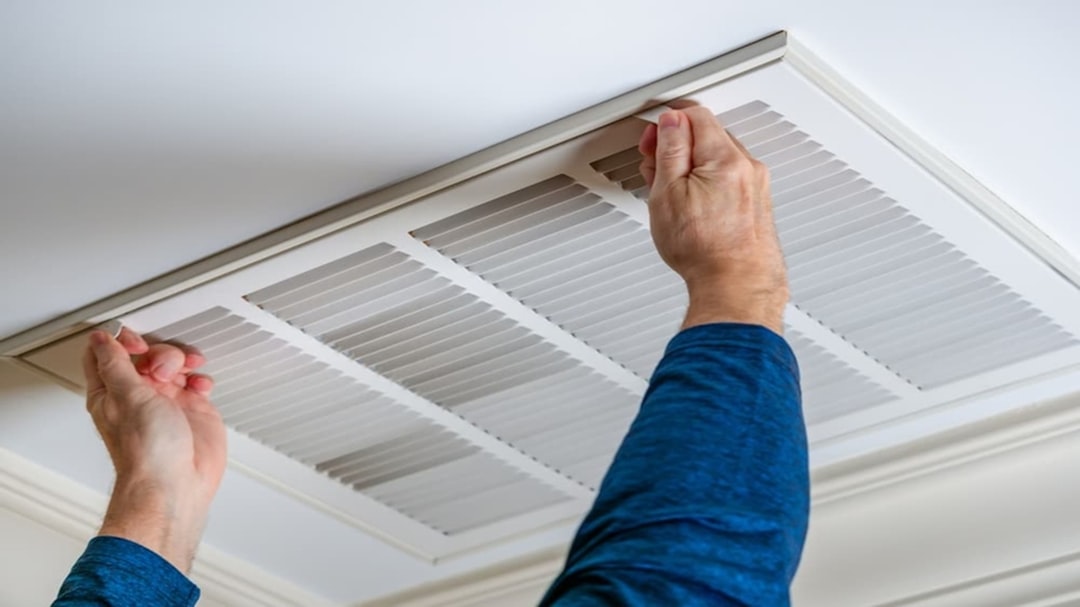
- Test monthly: Press and hold the test button on each detector once a month until the alarm sounds. This ensures the alarm and its internal components are working. If it doesn't sound, replace the batteries. If it still fails, replace the detector.
- Clean regularly: Use a soft brush attachment on your vacuum to gently clean the outside of your detectors twice a year. Dust and debris can block the sensors. Avoid using cleaning sprays, solvents, or paints on or near your detectors, as they can damage the sensors.
Want to learn more about keeping your home's systems clean for optimal performance? Check out More info about keeping your system clean.

Battery and Unit Replacement Schedule
- Replace batteries annually: For detectors with standard AA or 9-volt batteries, replace them at least once a year. A good time to do this is during daylight saving time changes. A repeating chirp indicates the battery is low and needs immediate replacement.
- Replace the entire unit every 5-7 years: Carbon monoxide detectors do not last forever. The sensors degrade over time. Most manufacturers recommend replacing the entire unit every 5-7 years. Check the back of your detector for a manufacture or expiration date. Many newer models have an "end-of-life" chirp that is different from the low-battery warning. If you don't know how old your detectors are, replace them to be safe. Some newer detectors come with sealed 10-year lithium batteries that last the life of the unit; the entire detector must be replaced when the battery dies.
What to Do When the Alarm Sounds
If your carbon monoxide alarm sounds, act immediately. This is a serious emergency. Do not ignore the alarm, even if you feel fine. CO is invisible and odorless, which is why your carbon monoxide detector installation is so important.
Follow these steps:
- Get everyone out immediately. Evacuate all people and pets from the house and move to fresh air.
- Call 911 from outside. Once you are safely outside, call 911 and report that your carbon monoxide alarm has activated.
- Stay outside. Do not re-enter the home until emergency responders have declared it safe.
If anyone is experiencing symptoms of CO poisoning (headaches, dizziness, nausea, confusion), inform the 911 operator and emergency personnel immediately. After the home is cleared, have a qualified HVAC technician inspect your fuel-burning appliances to find and fix the source of the leak. Treating every alarm as a real emergency is the smartest and safest course of action.
Frequently Asked Questions about Carbon Monoxide Detectors
Here are answers to some common questions about CO detectors.
Are carbon monoxide detectors different from smoke detectors?
Yes. They detect two distinct hazards using different technologies.
- Smoke detectors sense smoke particles from fires.
- Carbon monoxide detectors use electrochemical sensors to detect CO gas.
One cannot do the job of the other. For complete protection, the National Fire Protection Association (NFPA) guidance recommends installing both types of alarms. Combination units that detect both smoke and CO are a convenient option that can simplify your carbon monoxide detector installation.
How long do carbon monoxide detectors last?
CO detectors have a limited lifespan because their sensors degrade over time. Most units last five to seven years. Always follow the manufacturer's replacement recommendation. Check the back of the unit for a manufacture or expiry date. Many newer models have an "end-of-life" signal (a specific chirping pattern) to indicate it's time for a replacement. If you're unsure of the detector's age, replace it.
What level of CO triggers an alarm?
CO levels are measured in parts per million (ppm). Alarms are triggered based on both the concentration of CO and the duration of exposure, per UL (Underwriters Laboratories) standards:
- At 50 ppm: An alarm may sound after several hours of sustained exposure.
- At 100 ppm: An alarm may sound within one to two hours.
- At 200 ppm: An alarm will sound within 30-60 minutes.
- At 400 ppm or higher: An alarm will sound within 15 minutes. These levels are immediately dangerous and require urgent evacuation.
Any alarm from your CO detector requires immediate action. Don't wait for symptoms to appear.
Keep Your Home Safe with Proper HVAC Care
Proper carbon monoxide detector installation is your last line of defense, but prevention is the best strategy. Most CO in homes originates from malfunctioning fuel-burning appliances like furnaces, water heaters, and fireplaces.
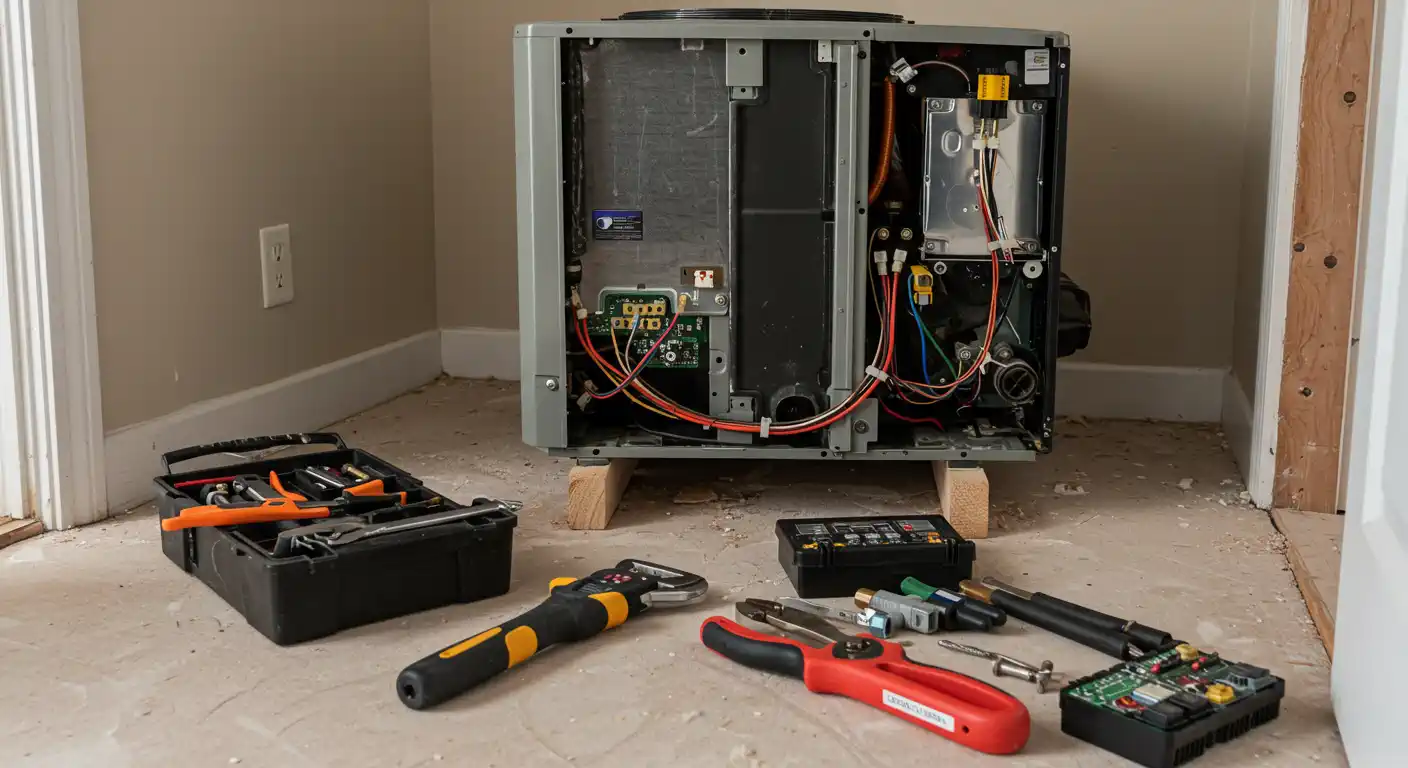
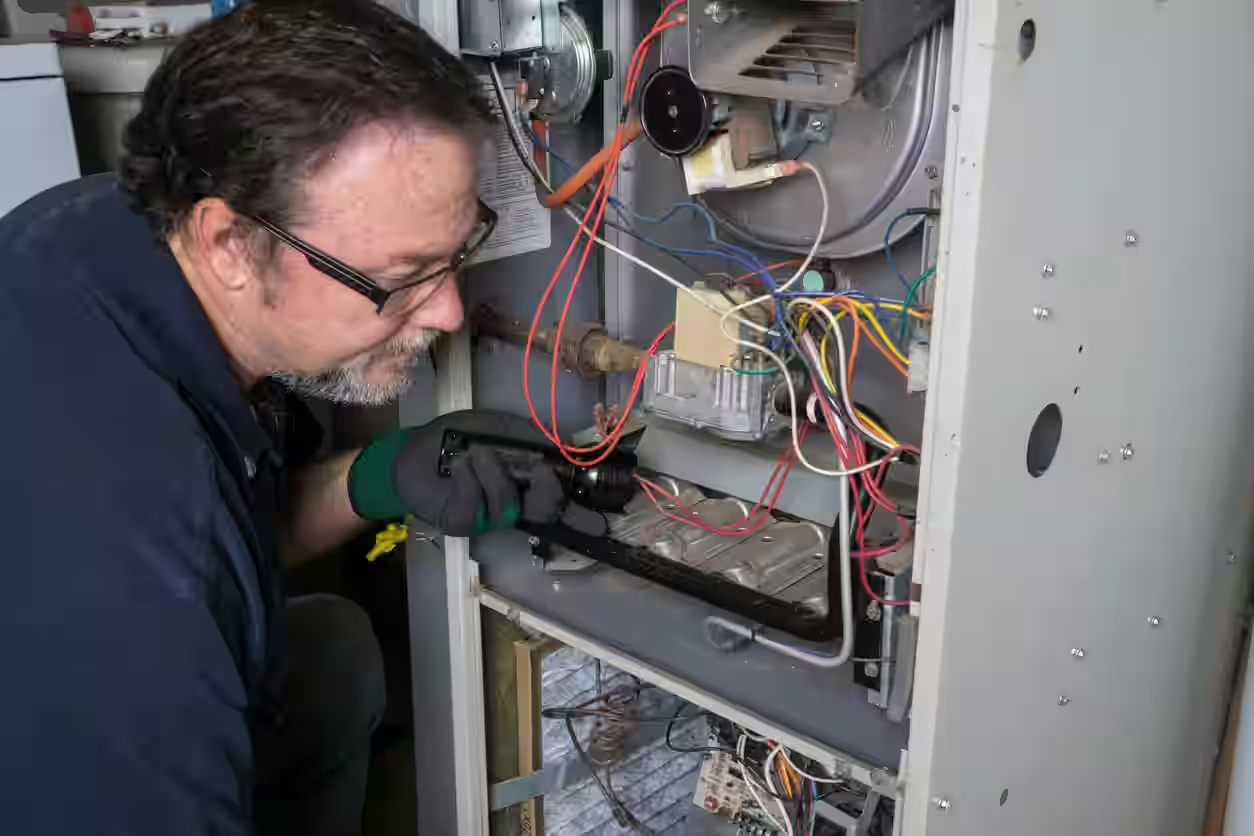
A cracked heat exchanger in a furnace is a common and dangerous source of CO leaks. The heat exchanger is supposed to keep combustion gases separate from your breathing air. When it cracks due to age or poor maintenance, CO can leak directly into your home's airflow.
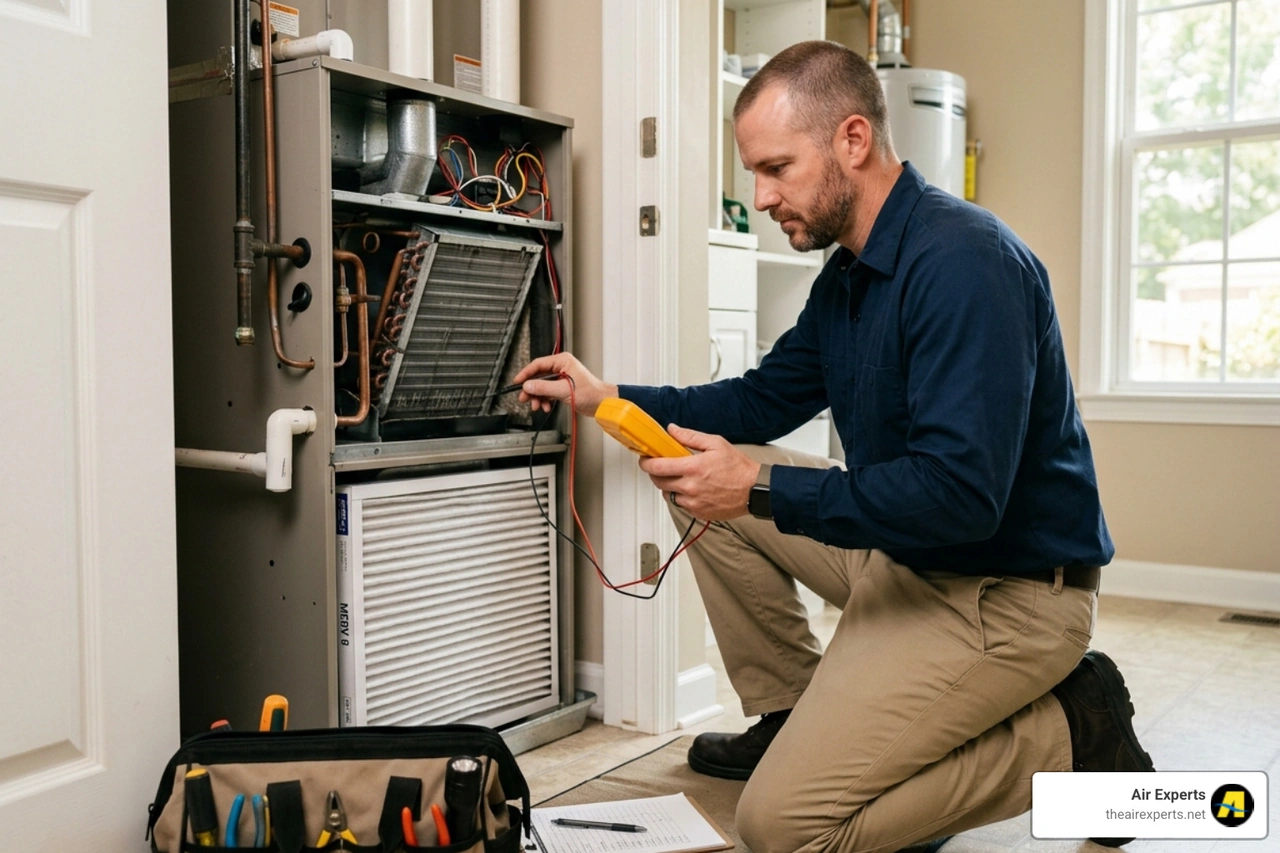
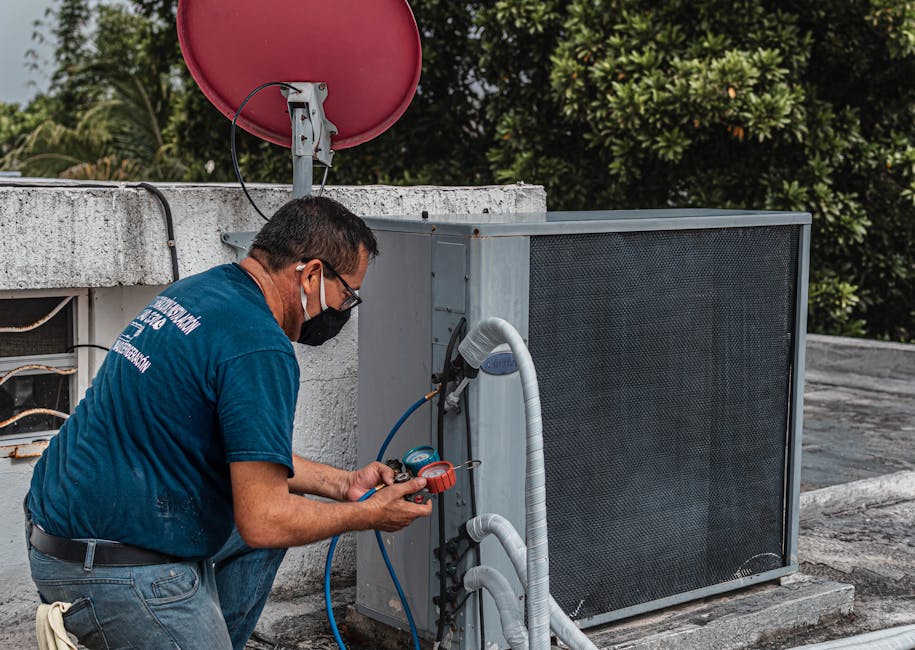
This is why regular HVAC maintenance is crucial for safety. At Air Experts, we serve the Greater Birmingham, AL area—from Chelsea to Pelham, Trussville and beyond—with our promise of "No Upselling. No catch. Just Honest, Quality Service."
During a heating system service, our technicians perform a thorough safety inspection. We check for cracked heat exchangers, ensure proper ventilation of all appliances, and look for gas leaks. While a cracked heat exchanger cannot be repaired and requires furnace replacement, catching it early during routine maintenance can save lives.
Annual maintenance is about safety, not just comfort. Be proactive and prevent problems before they become emergencies. If you're in the Birmingham area, we're here to help ensure your heating system is safe. Schedule your HVAC repair in Birmingham, AL with Air Experts today. Because when it comes to your family's safety, there's no room for compromise.


.svg)
.svg)


.svg)
.svg)
