.svg)
.svg)
Why AC Compressor Repair Skills Can Save You Hundreds
AC compressor repair is one of the most expensive home cooling fixes, but it doesn't have to break the bank. When your home's AC stops blowing cold air, bills can easily climb fast if the problem is misdiagnosed or if unnecessary parts get replaced.
Quick AC Compressor Repair Overview:
- Most common issue: Failed capacitor, bad contactor, or condenser fan motor (not always the compressor itself)
- Can it be fixed?: Often yes for supporting parts (capacitor/contactor/fan); true compressor replacement is advanced and usually pro-only
- DIY difficulty: Basic to moderate for electrical components; advanced for any refrigerant work
- Time required: 30–90 minutes for capacitor/contactor; several hours for full system work
- Money saved: $150–500 on simple part swaps vs professional repair
The compressor is the heart of your home’s cooling system, compressing refrigerant to make the cooling cycle possible. When it struggles, you’ll notice warm air from vents, the outdoor unit humming or clicking but not starting, frequent breaker trips, or the condenser fan running while the system won’t cool.
Many "no cooling" issues aren’t compressor failures. Often, the run capacitor, contactor, or fan motor can be repaired without replacing the sealed compressor. Understanding what can be fixed versus what needs replacement is the key to saving money.
"Compressors are the most expensive components of cooling systems," and with an average lifespan of 10–15 years, knowing basic maintenance and repair triage can pay off significantly.

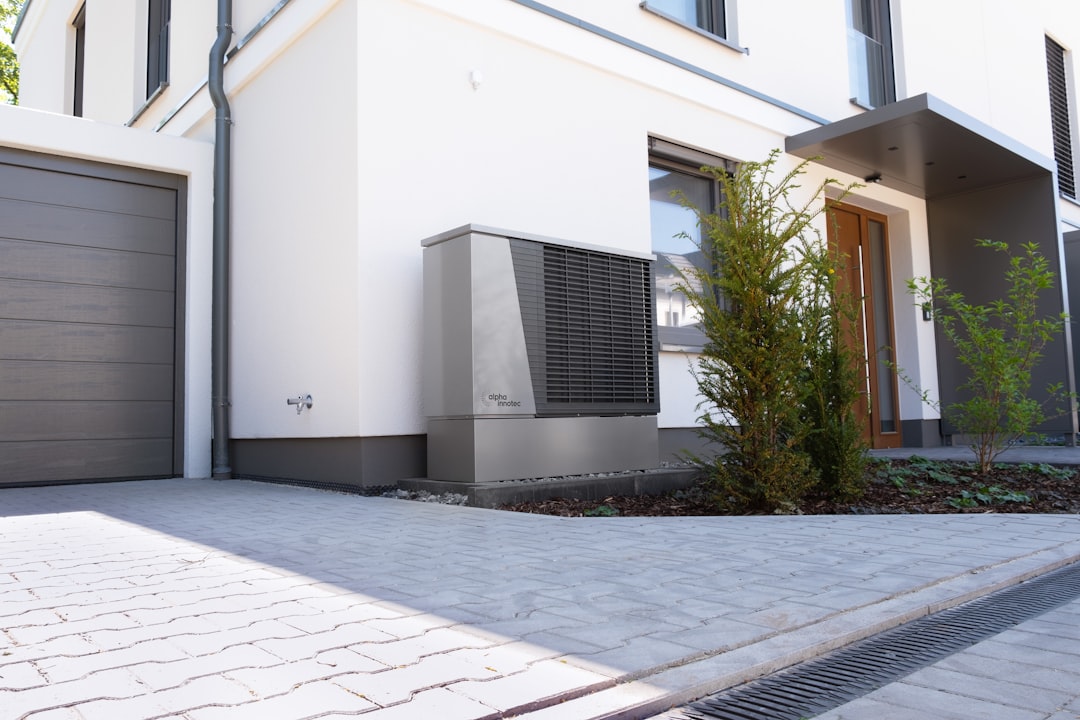
Understanding Your Home's AC System and Compressor
To understand why a home AC fails, it helps to know how it works. Your central air conditioner moves heat from inside your house to the outdoors using a refrigerant that cycles between liquid and gas states.
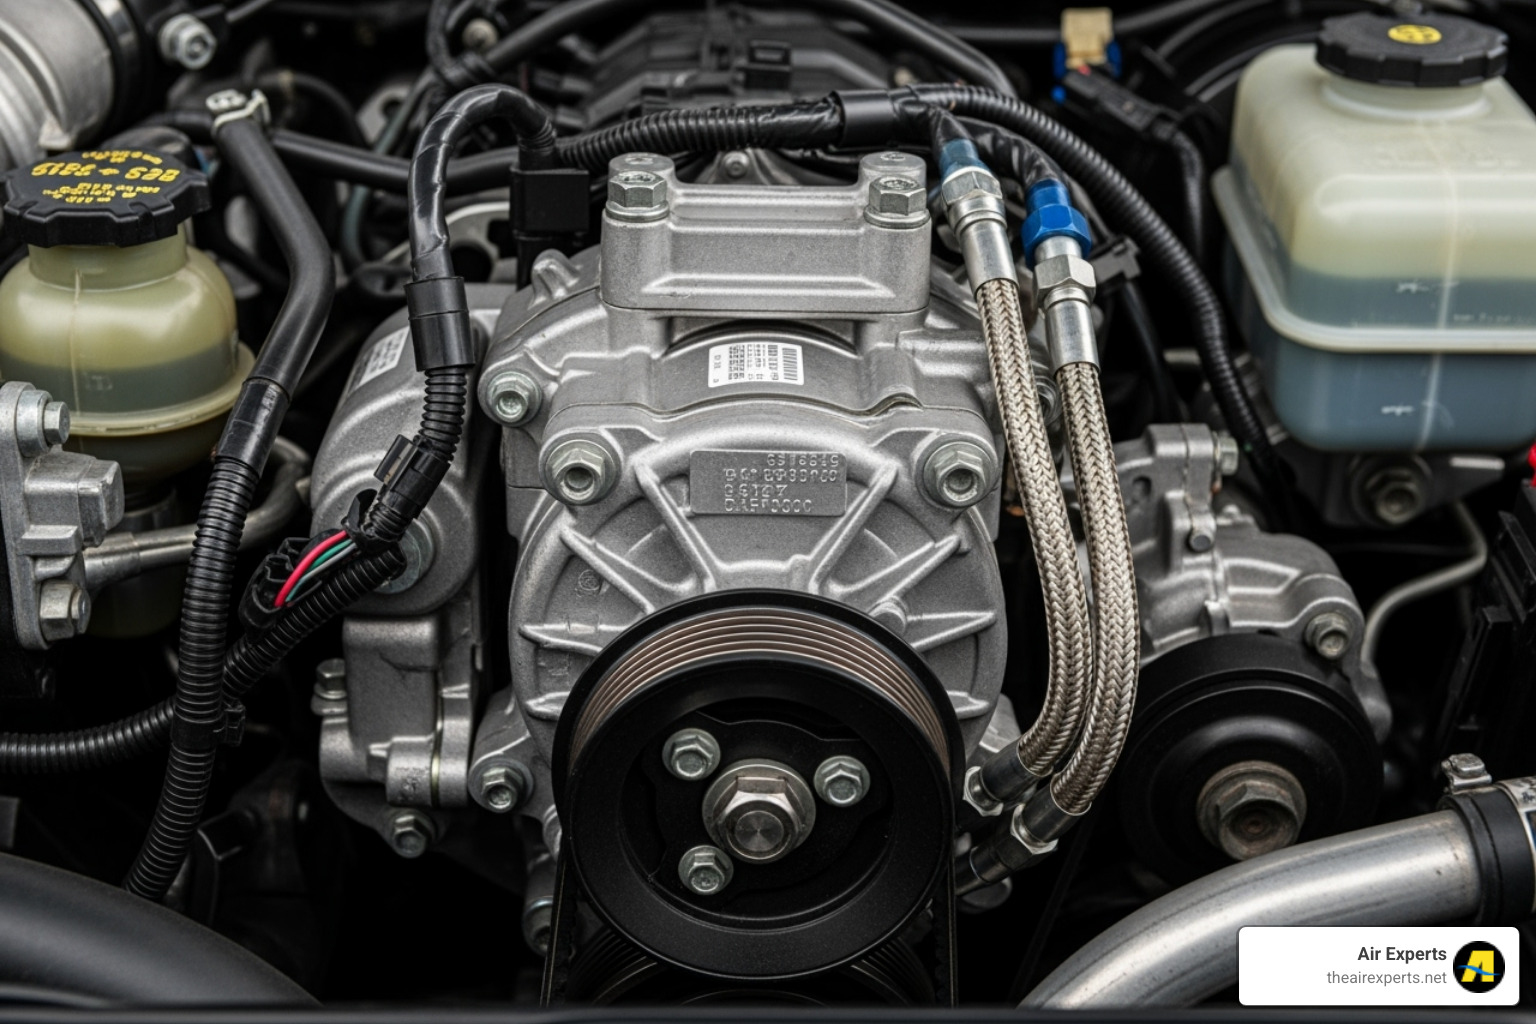
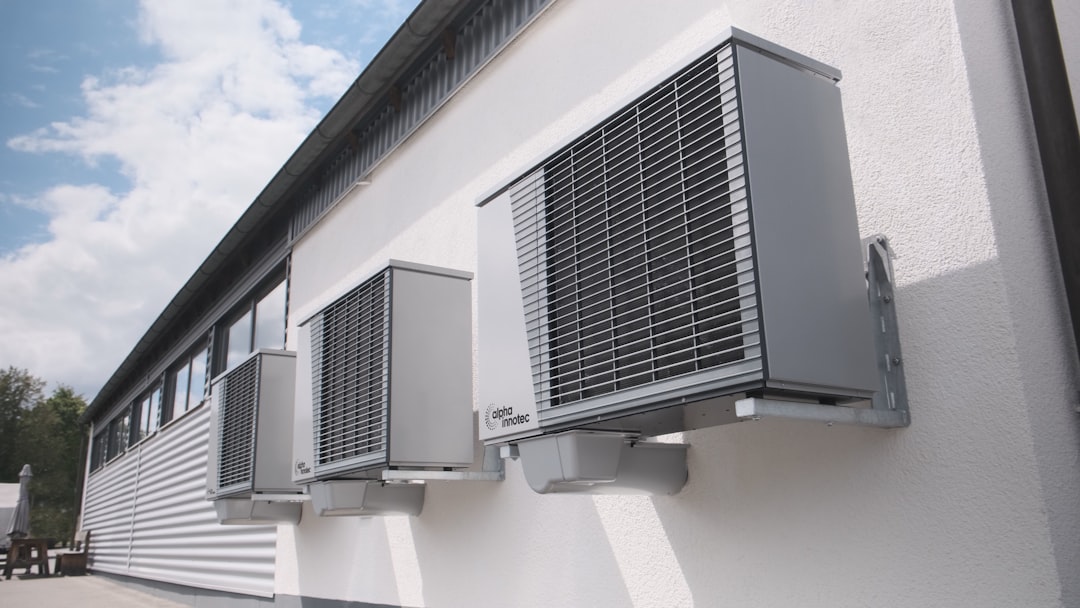
At the heart of this system is the outdoor unit (condenser), which houses the compressor. The compressor takes low-pressure refrigerant gas from the indoor evaporator coil and squeezes it into a high-pressure gas. This heats the refrigerant, which then flows through the condenser coil to release its heat and turn back into a liquid, repeating the cycle to keep you cool.
POE oil circulates inside residential systems to lubricate the hermetic (sealed) compressor. Most home systems use scroll or reciprocating compressors. The system relies on both electrical components (contactor, capacitor, condenser fan motor, control board, pressure/temperature safeties) and mechanical parts (compressor, coils, refrigerant lines, metering device such as a TXV or piston).
Common Symptoms of a Failing AC Compressor (or its support parts)
Your system will usually give warning signs when something's wrong. Recognizing them early can prevent a major failure.
- Warm air from vents despite the thermostat calling for cooling
- Outdoor unit hums, clicks, or tries to start and stops (often a failed capacitor or hard-start need)
- Breaker trips or system shuts off on overload
- Condenser fan runs but no cooling; or both fan and compressor silent
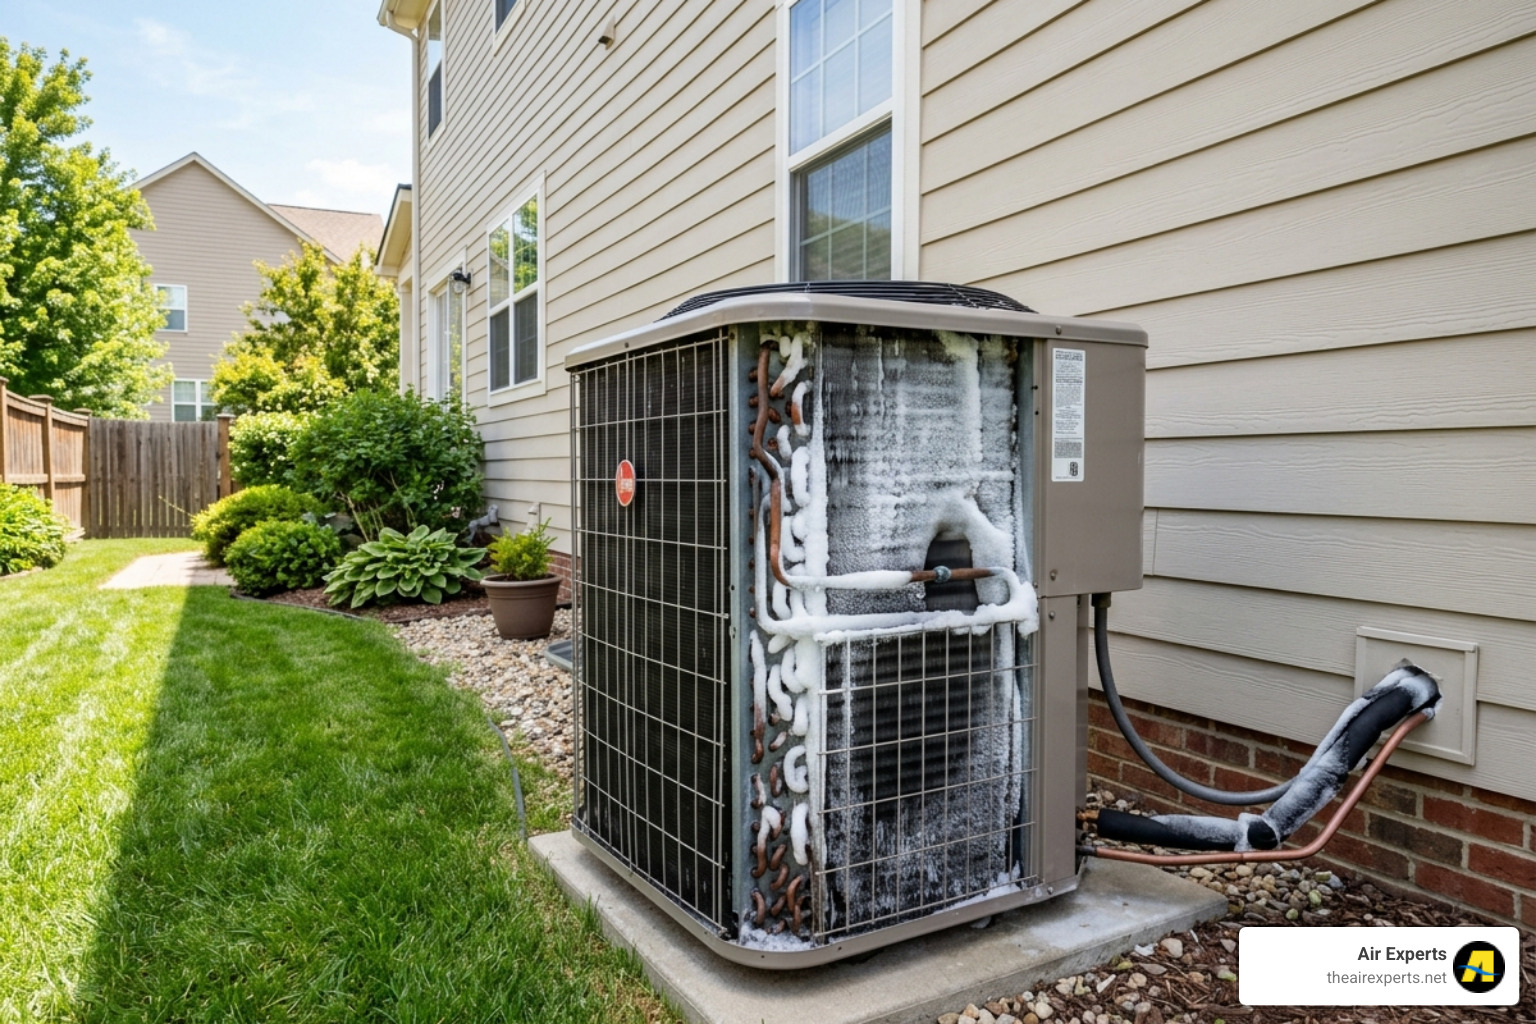
- Icing on the refrigerant line or evaporator coil; visible oil residue around service valves or line sets

Can an AC Compressor Be Repaired or Must It Be Replaced?
While compressors in home systems are sealed units that usually aren’t field-rebuildable, many “no cool” issues are caused by parts around the compressor. A worn run capacitor, pitted contactor, or failing condenser fan motor can often be replaced cost-effectively.
However, when a compressor suffers internal failure (locked rotor, short to ground, or burnout), replacement of the compressor or the entire condenser is typically the only practical option. Internal failures can contaminate the system with acids and debris. Without proper cleanup (new filter-drier(s), thorough evacuation, and often line set/coil evaluation), contamination can quickly damage a replacement compressor. In short: targeted repairs can save you hundreds, but true compressor failures call for a comprehensive, professional approach.
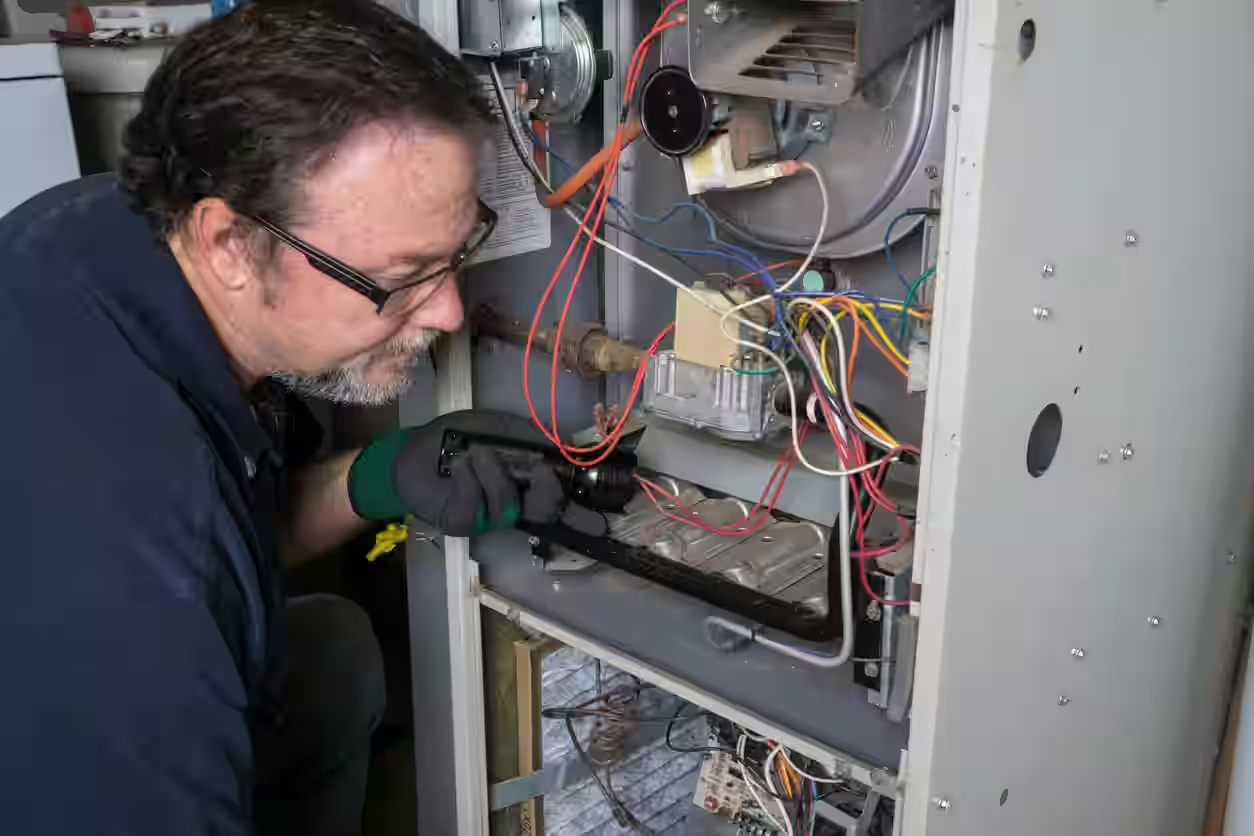
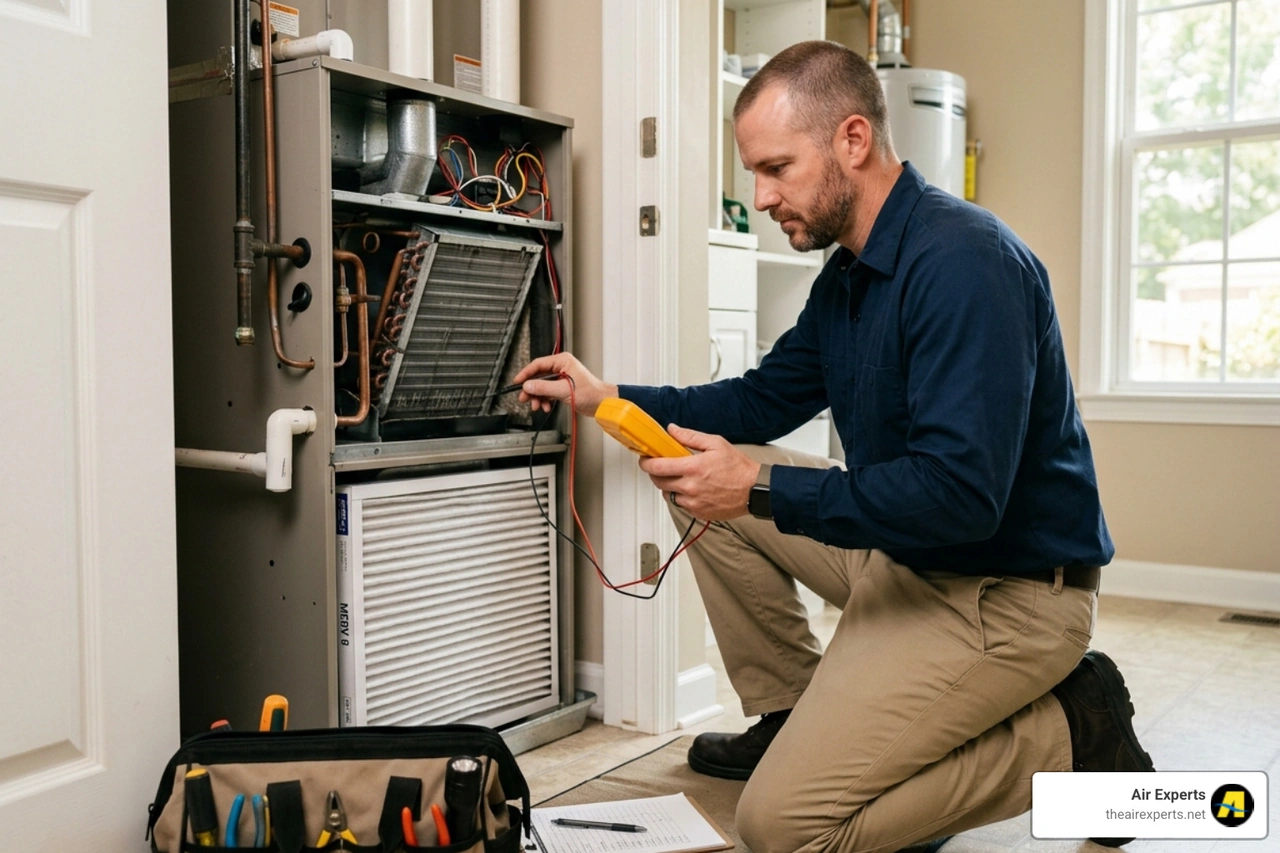
How to Diagnose AC Compressor Issues Yourself
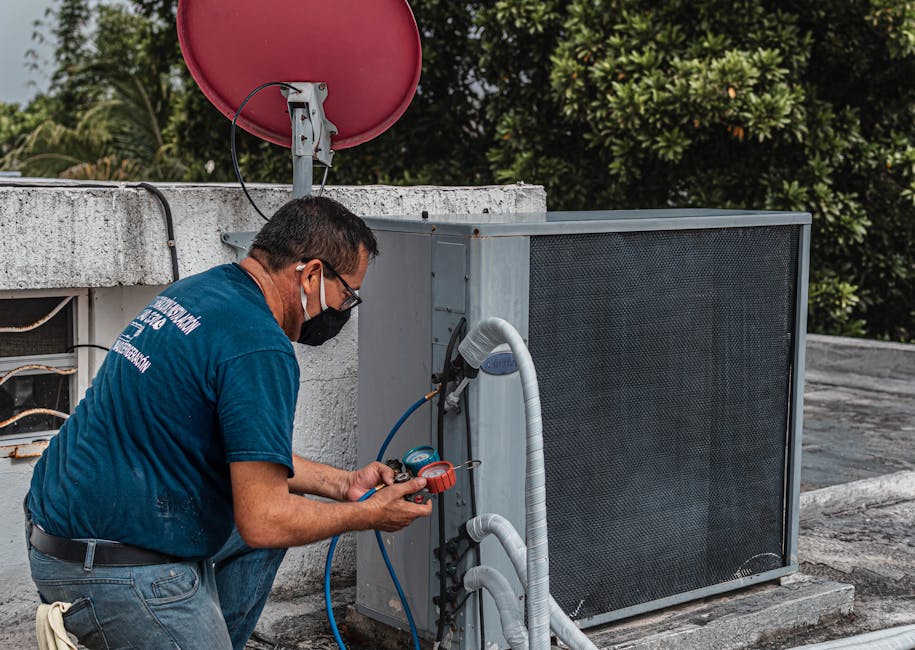
Before starting any AC compressor repair, diagnose the problem accurately. Many issues are electrical and safe for handy homeowners; refrigerant handling should be left to licensed pros.
Start with a visual inspection of the outdoor unit. Clear debris and make sure there’s 2+ feet of clearance around the condenser. Check for oily residue near service valves or line connections (possible leak). Inspect the disconnect and breaker.
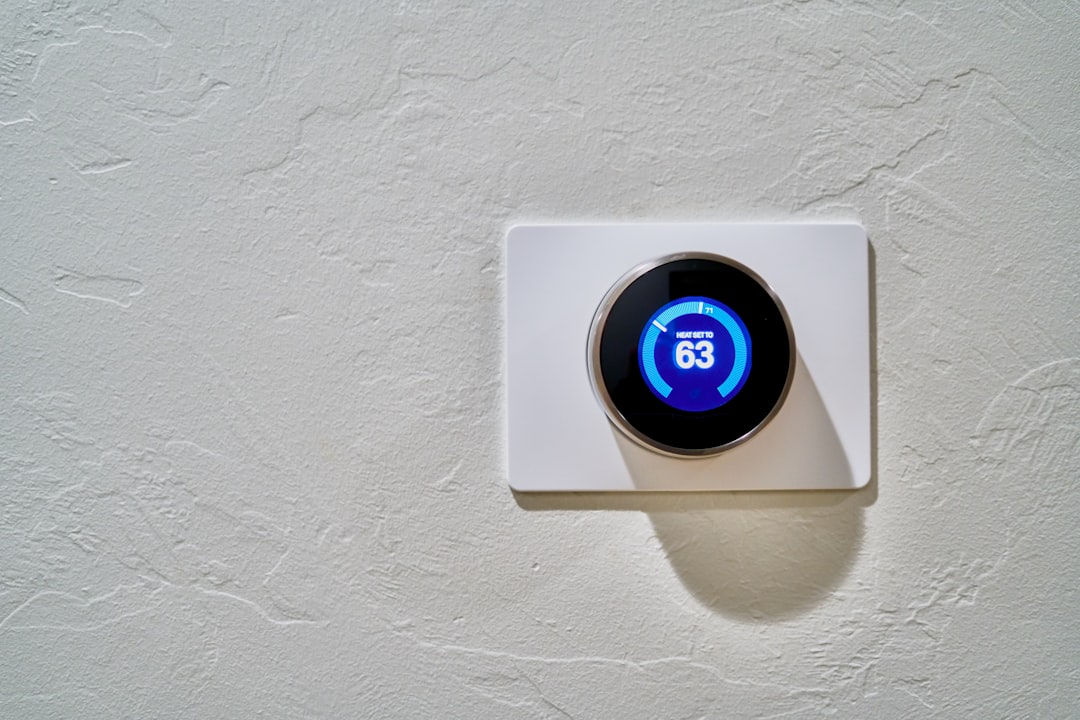
Thermostat and air handler: Confirm the thermostat is set to COOL, the indoor blower runs, and the air filter is clean. A clogged filter can cause freezing and poor cooling.
Outdoor unit behavior: With a call for cooling, watch the contactor. You should hear or see it pull in. If the contactor engages but the compressor won’t start, suspect the run capacitor or a hard-start need. If nothing engages, look for low-voltage (24V) control issues, pressure switches, or a failed contactor.
Listen for noises. A healthy system starts smoothly and runs with a steady hum. Humming without start-up often points to a weak capacitor. Repeated clicking may indicate safety trips. A loud buzz followed by a trip can indicate a locked rotor.
If you’re comfortable with electrical work, use a multimeter to check for 24V at the contactor coil and proper line voltage at the line side. Visually inspect the capacitor for bulging or leaking and test its microfarad rating with a compatible meter.
If you have gauges and appropriate certification, you can read pressures to confirm charge and operation. Otherwise, consider safe checks like temperature split (supply vs. return air) and surface temperature of the large suction line (should be cool/cold and sweating in humid conditions).

Proper diagnosis is half the battle. Pinpointing the issue prevents unnecessary part swaps and protects your system.
Step-by-Step Guide to Your DIY AC Compressor Repair
Once you’ve diagnosed the issue, you can tackle safe DIY tasks and know when to call a pro. Safety first! Always kill power at the breaker and pull the outdoor disconnect. Capacitors hold a charge—use proper procedures and PPE.
Necessary Tools:
- Non-contact voltage tester and multimeter
- Nut driver and screwdrivers
- Needle-nose pliers and wire strippers
- Replacement run capacitor (correct uF and voltage), contactor, and optional hard-start kit
- AC manifold gauge set and vacuum pump (for EPA-certified pros only)
- Filter-drier(s), TXV/piston, and nitrogen setup if contamination is suspected (pro-level)
The first, non-negotiable step for any refrigerant-side work is recovery. It is illegal and harmful to the environment to vent refrigerant. Only EPA-certified technicians with proper recovery equipment should open the sealed system.
With power off, you can proceed with common DIY-safe fixes:
- Inspect and replace the run capacitor: Note wiring, discharge safely, swap with an identical spec part.
- Inspect and replace the contactor: Label wires, remove the old contactor, and install the new one, ensuring tight connections.
- Test operation: Restore power and call for cooling. If the system starts and cools, monitor pressures/temperatures if equipped and certified; otherwise, observe normal operation (steady run, cold suction line, warm condenser exhaust air).

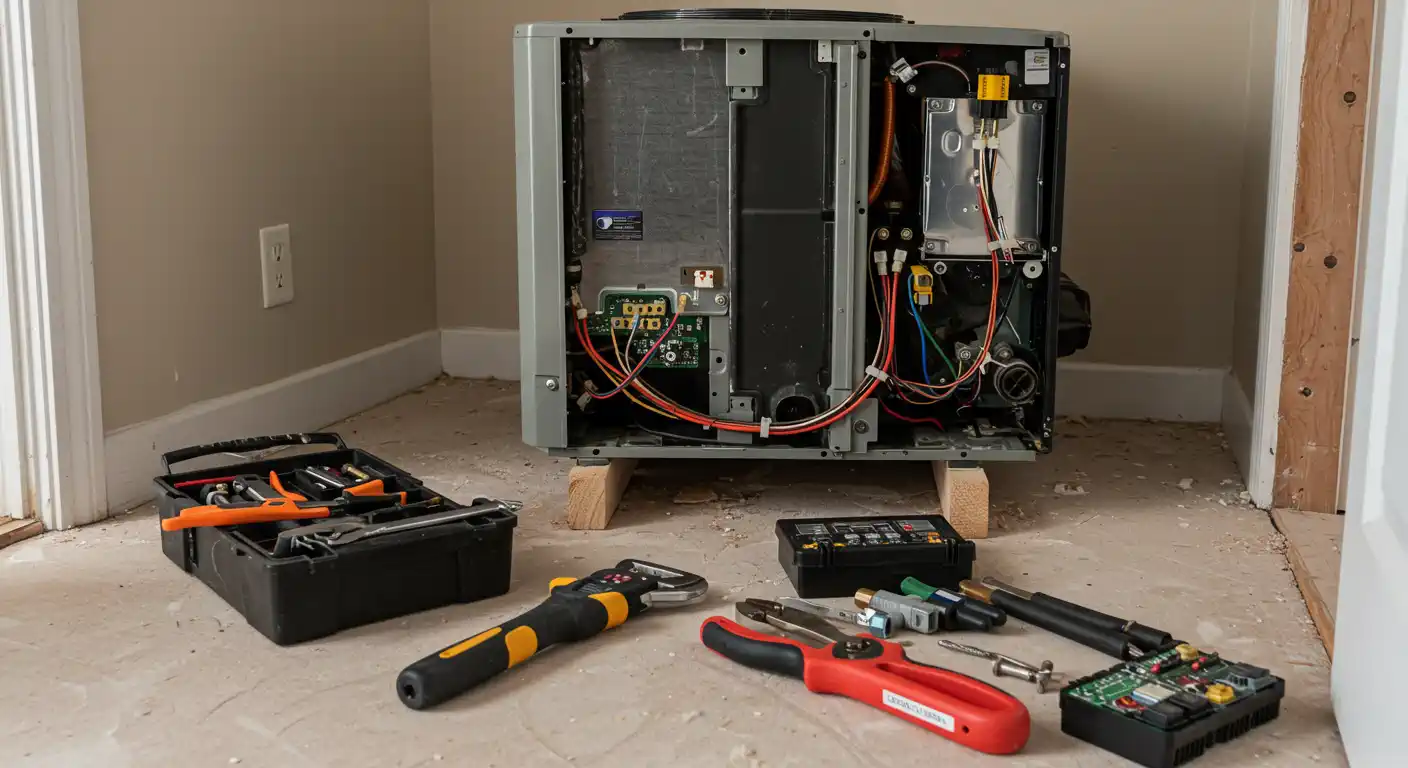
Installing a New Compressor or Condenser (Pro-Level Overview):
- Recover the refrigerant with certified equipment.
- Replace the failed component (compressor swap or full condenser replacement). If brazing, flow nitrogen to prevent oxidation.
- Install/replace a liquid-line filter-drier (and a suction-line drier for burnouts). Address the metering device if clogged or suspect.
- Evacuate deeply and verify dryness before charging.
What Other Components Should Be Replaced?
When replacing a compressor or condenser, certain components should be replaced to protect the new equipment:
- Liquid-line filter-drier: Mandatory after any open-system repair.
- Suction-line filter-drier: Strongly recommended after a compressor burnout.
- Contactor and run capacitor: Replace if worn/pitted/out of spec.
- TXV/piston and strainers: Replace or clean if restricted or contaminated.
If the old compressor failed internally, the system must be cleaned and protected. This includes installing appropriate driers, flowing nitrogen during brazing, and verifying the system is clean and dry before charging. Skipping these steps risks rapid failure of the new compressor.

Final Steps: Evacuation and Recharging
After installation, the system is full of air and moisture, which must be removed.
- Pull a vacuum: Connect a vacuum pump to your manifold gauge set and evacuate the system to a deep vacuum (commonly to 500 microns or below) and hold to confirm dryness.
- Leak check: Pressure test with dry nitrogen before evacuation, or perform a decay test after vacuuming. If the vacuum rises, locate and repair leaks.
- Recharge: Charge the exact type and amount of refrigerant specified for your system (e.g., R410A or R32). Charge by weight, then verify operation with superheat/subcooling. Do not overcharge or undercharge.
Maintenance and Risks
Completing an AC repair is great, but proper maintenance is key to long-term success.
- Run your AC for about 10 minutes monthly in the off-season to circulate oil and keep seals healthy.
- Keep 2–3 feet of clearance around the outdoor unit; gently rinse the condenser coil with a garden hose to remove dirt and pollen.
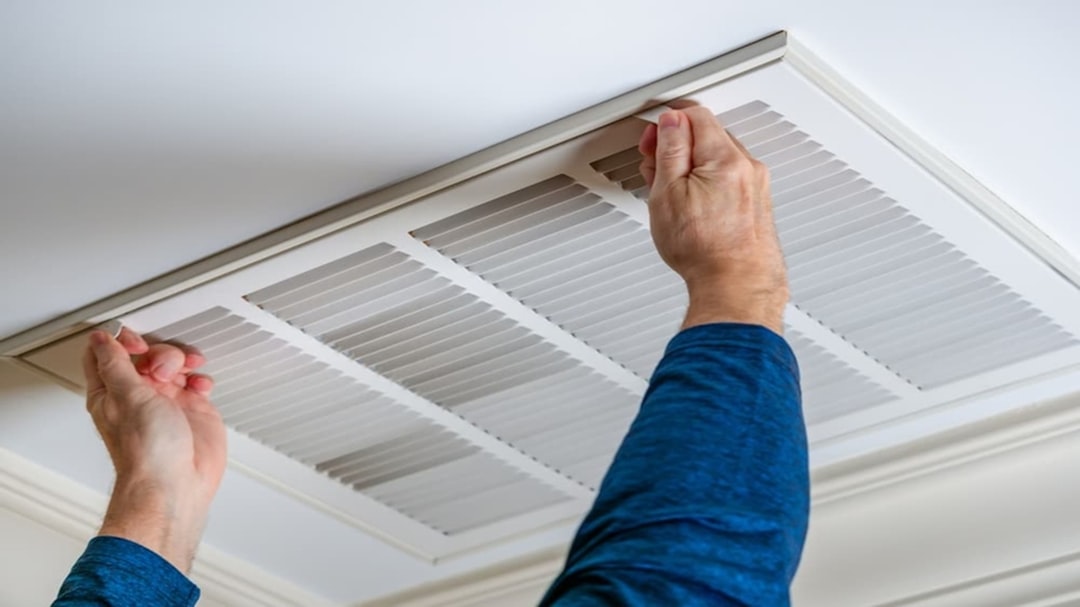
- Replace your indoor air filter on schedule; a clogged filter stresses the system and can cause icing.

Ignoring a failing compressor can lead to serious problems. A locked or shorted compressor can trip breakers, overheat wiring, and spread acids/contaminants through the system, leading to more expensive repairs.
Cutting corners during replacement is risky. If you skip driers, nitrogen purging, or proper evacuation, a new compressor can fail prematurely. Good AC repair treats the entire system with care.
When to Call a Professional for AC Compressor Repair
DIY is great, but sometimes calling a professional is the smartest move. If you lack specialized tools, are not comfortable working around high voltage and stored charge in capacitors, or need refrigerant work, call a pro.
Refrigerant handling is regulated by law, and venting is illegal. The EPA requires certification for technicians working with stationary HVAC systems (Section 608), and for vehicle air conditioners (Section 609). See programs at the EPA (mobile A/C reference maintained here): EPA, technicians working on vehicle air conditioners must be certified. Professionals are equipped to handle these substances safely and legally.
Complex diagnostics, verifying charge via superheat/subcooling, and warranty validation often require a certified technician. Sometimes, the smartest DIY decision is to trust an expert to get the job done right.
Frequently Asked Questions about AC Compressor Repair
Here are answers to some of the most common questions about AC compressor repair.
What is the average cost to replace an AC compressor?
Costs vary widely by brand, refrigerant, accessibility, and whether you replace the compressor only or the entire outdoor condenser. You must also factor in a new filter-drier, potential metering device work, nitrogen purging, evacuation, and refrigerant. Professional labor typically adds a significant portion to the total because of the specialized tools, materials, and warranty procedures involved.
| Cost Category | DIY Repair | Professional Repair |
|---|---|---|
| Compressor/Condenser and Major Parts | Limited DIY feasibility (refrigerant work is regulated) | Included in total |
| Supporting Components & Supplies (drier, capacitor, contactor, etc.) | Your parts cost only | Included in total |
| Your Total Investment | Parts only for DIY-safe tasks | Parts plus labor |
| Labor | Your time and effort | Professional expertise and warranty support |
| Overall Investment Range | Lower for minor electrical fixes | Higher for compressor/condenser replacement |
How long does an AC compressor last?
Most home AC compressors have an average lifespan of 10 to 15 years. In hot, humid climates like Central Alabama, compressors work harder and may wear out sooner. Regular maintenance—coil cleaning, correct refrigerant charge, and timely filter changes—can significantly extend life.
Can I run my AC with a bad compressor?
It depends on the failure. If the compressor won’t start and the unit keeps trying, continued attempts can overheat components or trip breakers. If the compressor is shorted or locked, do not run the system. If only a support part (like a capacitor or contactor) has failed, replacing that part may restore normal operation. When in doubt, shut the system off and have it inspected to prevent further damage.
Conclusion
Tackling simple, safe DIY tasks on your home AC—like replacing a run capacitor or contactor—can save you real money. In Alabama’s sweltering summers, a working AC is about comfort and safety, keeping you alert and protected from heat-related issues indoors.
However, knowing your limits is as important as knowing how to use a wrench. AC systems are complex, involving high voltage, regulated refrigerants, and precise procedures. If you feel overwhelmed by the diagnostics, lack the proper tools, or are uncomfortable handling electrical or refrigerant work, there is no shame in calling a professional.
Sometimes the smartest DIY decision is knowing when not to DIY. For complex diagnostics or if you're in the Birmingham, AL area and prefer an expert touch, the certified technicians at Air Experts provide honest, quality service without the upsell. They understand that your comfort matters and will get your AC running right.
Whether you do it yourself or trust the pros, the goal is to get that cold air flowing again and beat another Alabama summer.


.svg)
.svg)


.svg)
.svg)
