.svg)
.svg)

What Every Birmingham Homeowner Should Know About Mini Split Installation
How a mini split installation works step by step comes down to six core tasks: mounting the indoor unit, drilling a small hole through the wall, routing the refrigerant lines and drain hose, securing the outdoor condenser, making the electrical and refrigerant connections, and testing the system before use.
Here is a quick overview:
- Mount the indoor bracket on a wall stud, perfectly level, 7–8 feet above the floor
- Drill a 2–3 inch hole through the exterior wall at a slight downward angle
- Route the line set, drain hose, and control wire through the wall as a bundled group
- Place the outdoor condenser on a level pad or wall bracket with proper clearance on all sides
- Connect the refrigerant lines and electrical wiring between the two units
- Vacuum the refrigerant lines, test for leaks, and start the system to confirm it is working correctly
That is the process in a nutshell — but each of those steps involves real technical detail, safety requirements, and decisions that can affect how well your system runs for the next 10 to 15 years.
If you are a homeowner in the Greater Birmingham area trying to understand what this job actually involves — whether you are planning a room addition, a garage conversion, or just replacing an aging window unit — this guide walks through every step in plain language. You will also learn which parts of the job a handy homeowner can reasonably handle, and which parts (refrigerant handling and high-voltage electrical work) are best left to a licensed professional.
Leaky ductwork in a traditional system can waste up to 30% of your heating and cooling energy. Mini splits eliminate that loss entirely — but only when they are installed correctly from the start.

What a Ductless Mini-Split Is and How It Works
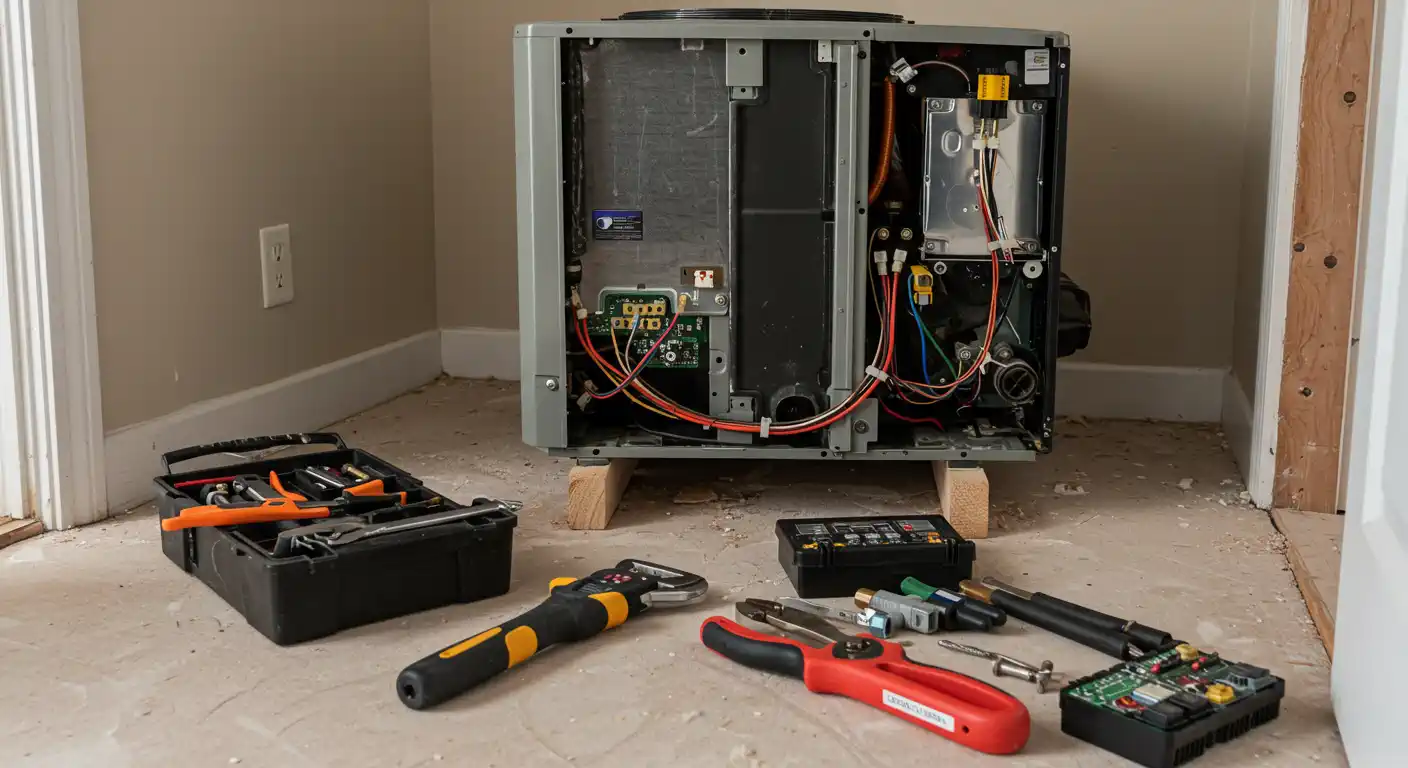
A ductless mini-split is a highly efficient heating and cooling system that doesn't require the large, bulky ductwork found in traditional central air systems. Instead, it uses two main components: an indoor air handler and an outdoor condenser. These are connected by a small "conduit" containing refrigerant lines, a power cable, and a condensate drain.

The system works on the principles of heat pump technology. In the summer, the indoor unit absorbs heat from your room and transfers it outside. In the winter, it "scavenges" heat from the outdoor air (even when it’s cold!) and moves it indoors. Most modern units use inverter technology, which allows the compressor to adjust its speed dynamically. Rather than turning fully on and off — which wastes energy — the inverter keeps the system running at the exact speed needed to maintain your comfort.
How a mini split installation works step by step for homeowners
When we look at the process from a homeowner's perspective, it’s helpful to think of it as a physical assembly followed by a technical "commissioning." You start by securing a metal bracket to your wall, then you create a pathway through that wall for the "umbilical cord" of the system. Once the indoor and outdoor units are physically in place, the technical work begins: connecting copper lines, wiring for power, and using specialized tools to ensure the system is airtight and moisture-free.
Single-zone vs. multi-zone systems
Choosing the right type of system is the first big decision.
- Single-Zone: One indoor unit connects to one outdoor condenser. This is perfect for a garage conversion in Alabaster or a sunroom addition in Chelsea.
- Multi-Zone: One larger outdoor condenser can power multiple indoor units (often up to five or eight). This is ideal for whole-home retrofits in older homes in Mountain Brook or Homewood where ductwork isn't feasible.
| Feature | Single-Zone | Multi-Zone |
|---|---|---|
| Best For | Single rooms, sheds, garages | Entire homes, multiple bedrooms |
| Installation Time | 4–8 Hours | 1–2 Days |
| Control | One thermostat/remote | Independent control for each room |
| Complexity | Lower | Higher (multiple line sets) |
Plan the Installation Before Any Drilling Starts
Before we pick up a drill, we have to do the math. Sizing a mini-split isn't just about square footage; we also look at your insulation quality, the number of windows, and how much sun exposure the room gets. A "rule of thumb" is often 20 BTUs per square foot, but a professional load calculation is the only way to ensure you don't end up with a system that "short cycles" (turning on and off too fast) or one that can't keep up with a humid Alabama July.
Choosing the right size and placement
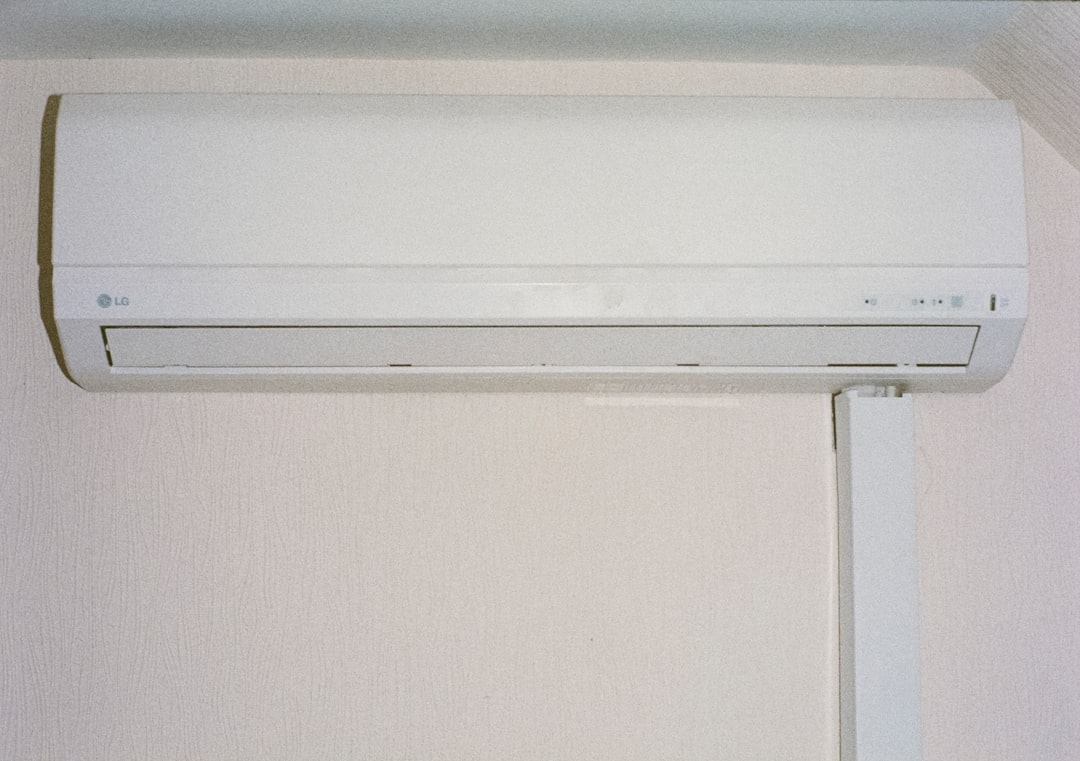
Placement is everything. The indoor unit needs at least 6 inches of clearance from the ceiling to breathe properly and should be mounted 7 to 8 feet high for optimal air distribution. We also want to avoid placing it in direct sunlight or near electronics like TVs, which can interfere with the remote control signal.
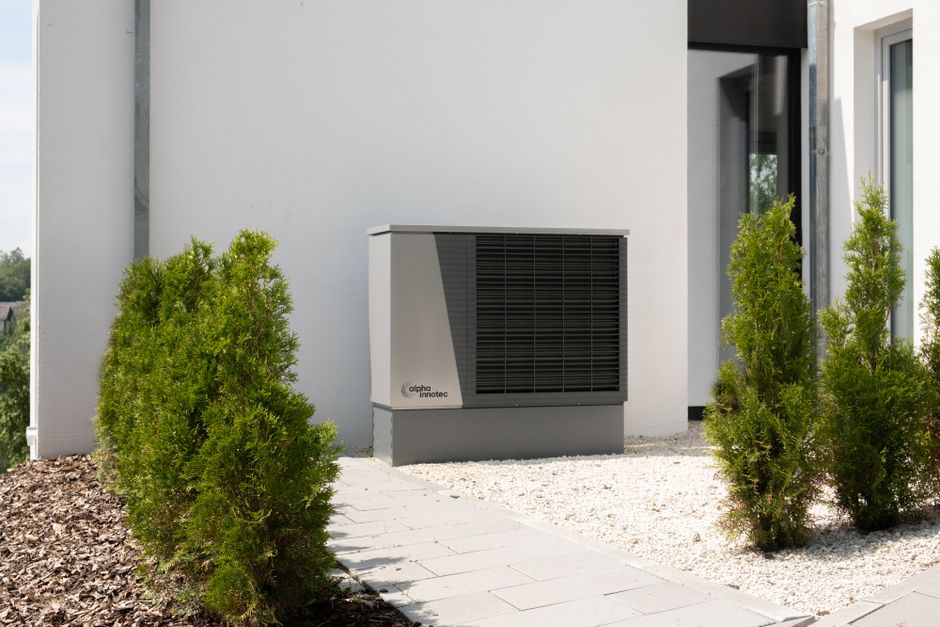
Outside, the condenser needs room to "exhale." It should have at least 12 inches of clearance on the sides and back, and several feet of open space in front. Placing it on the north side of your home or in a shaded area can actually improve its efficiency.
Safety rules, permits, and legal requirements
In the Greater Birmingham area, you’ll likely need a mechanical and electrical permit for a new installation. Safety is our top priority:
- Electrical: Most systems require a dedicated 220-volt circuit.
- Refrigerant: Federal law (EPA 608) requires a certified technician to handle and release refrigerant into the atmosphere.
- Wall Scan: We always use a wall scanner to ensure we aren't drilling into plumbing or electrical lines inside your walls.
Tools and Materials Needed for a Mini Split Installation
If you're looking at a standard installation, the tool list is quite specialized. Beyond a standard drill and level, you’ll need:
- Stud Finder: To find the framing that will hold the unit's weight.
- Hole Saw (2–3 inch): To create the pass-through for the line set.
- Torque Wrench: Critical for tightening flare nuts to exact manufacturer specs (preventing leaks).
- Vacuum Pump & Micron Gauge: To remove air and moisture from the lines.
- Manifold Gauges: To monitor system pressures.
- Anti-vibration Pads: To keep the outdoor unit quiet.
DIY kits vs. standard systems
There is a big difference between a "DIY-specific" kit and a professional-grade system. DIY kits often come with "pre-charged" line sets. This means the refrigerant is already inside the lines, and you simply screw them together. Standard systems require a technician to cut the copper to length, flare the ends, and then perform a vacuum process. While DIY kits are popular, many homeowners choose a "hybrid approach"—they handle the mounting and drilling but call us at Air Experts to handle the final electrical and refrigerant connections to protect their warranty.
Common mistakes to avoid before installation
We’ve seen it all! The most common errors include:
- Mounting the bracket crooked: Even a slight tilt can cause the condensate drain to backup and leak water down your interior wall.
- Kinking the copper: If you bend the refrigerant lines too sharply, you restrict the flow, which can burn out the compressor.
- Skipping the vacuum: Moisture in the lines creates acid when mixed with refrigerant, which eats the system from the inside out.
How a mini split installation works step by step inside and through the wall
Now we get to the "point of no return"—making a hole in your house. But don't worry, when done correctly, it's perfectly safe and weatherproof.
Step 1: Mount the indoor unit bracket correctly
We start by finding the studs. The indoor unit can weigh 40 to 50 pounds, so it needs a solid "bite" into the wall's framing. We use a level to ensure the bracket is perfectly straight. If we can't hit two studs, we use heavy-duty hollow wall anchors, but studs are always the preferred choice.
Step 2: Drill the wall hole and route the line set
We use a 2 to 3-inch hole saw to drill through the wall. Crucial Tip: We drill at a slight downward angle toward the outside. This allows gravity to pull the condensation water out of your home. We then insert a plastic wall sleeve to protect the lines from any rough edges on the siding or brick.
Step 3: Hang the indoor air handler and finish the wall side
Before hanging the unit, we bundle the copper lines, the communication wire, and the drain hose together with electrical tape. With a helper outside to guide the bundle through the hole, we "click" the indoor unit onto the wall bracket. Once it’s secure, we seal the exterior hole with silicone caulk or a specialized putty to keep out pests and Alabama humidity.
How a mini split installation works step by step outside, including connections and system testing
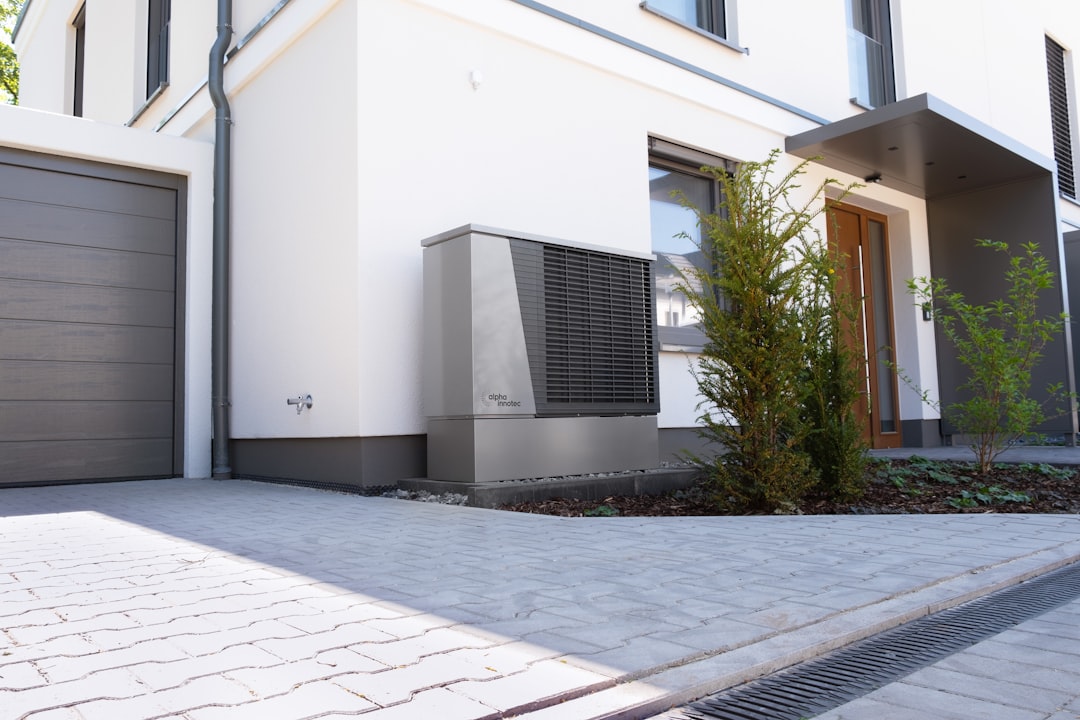
Moving outside, we focus on stability and precision. The outdoor unit is the "heart" of the system, and it needs a solid foundation.
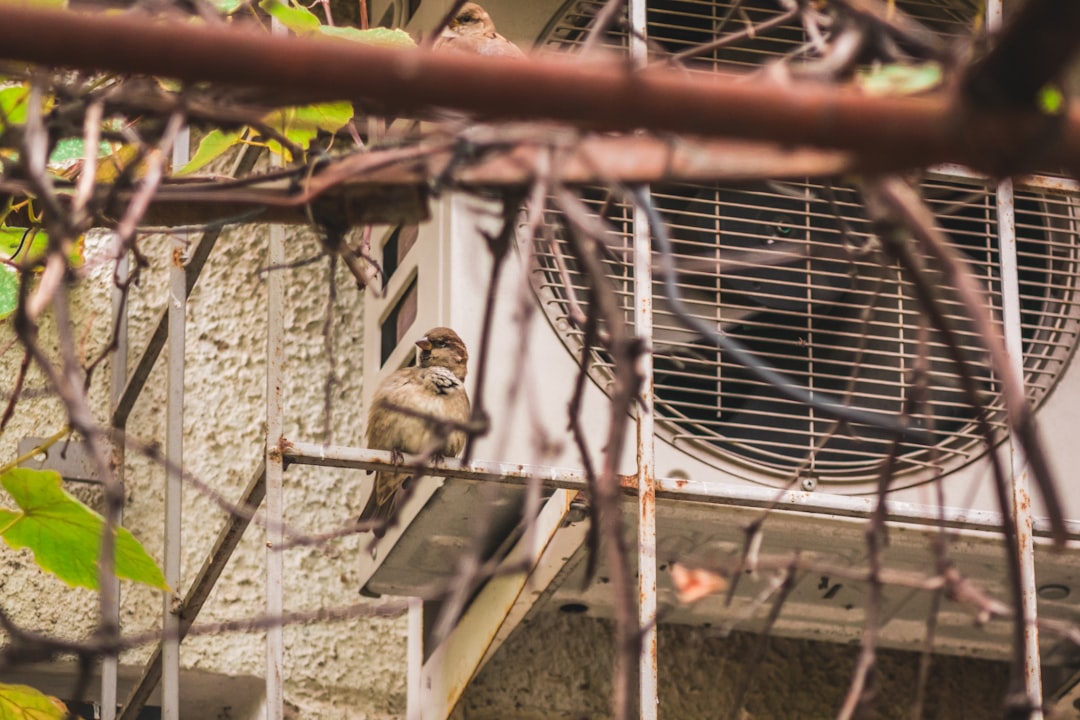
Step 4: Set and secure the outdoor unit
We place the condenser on a level concrete pad or a heavy-duty wall bracket. We always use anti-vibration rubber pads under the feet to ensure the unit stays whisper-quiet (some operate at just 19dB!). If you're in a flood-prone area or expect heavy debris, we may elevate the unit 4 to 6 inches off the ground.
Mini Split Installation Birmingham AL
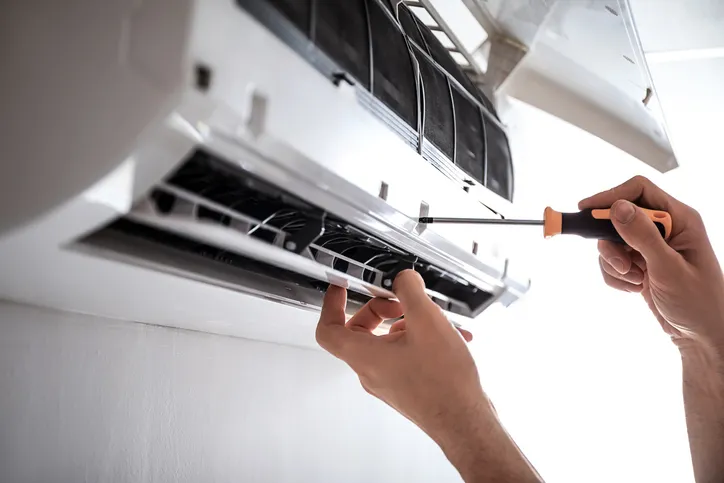
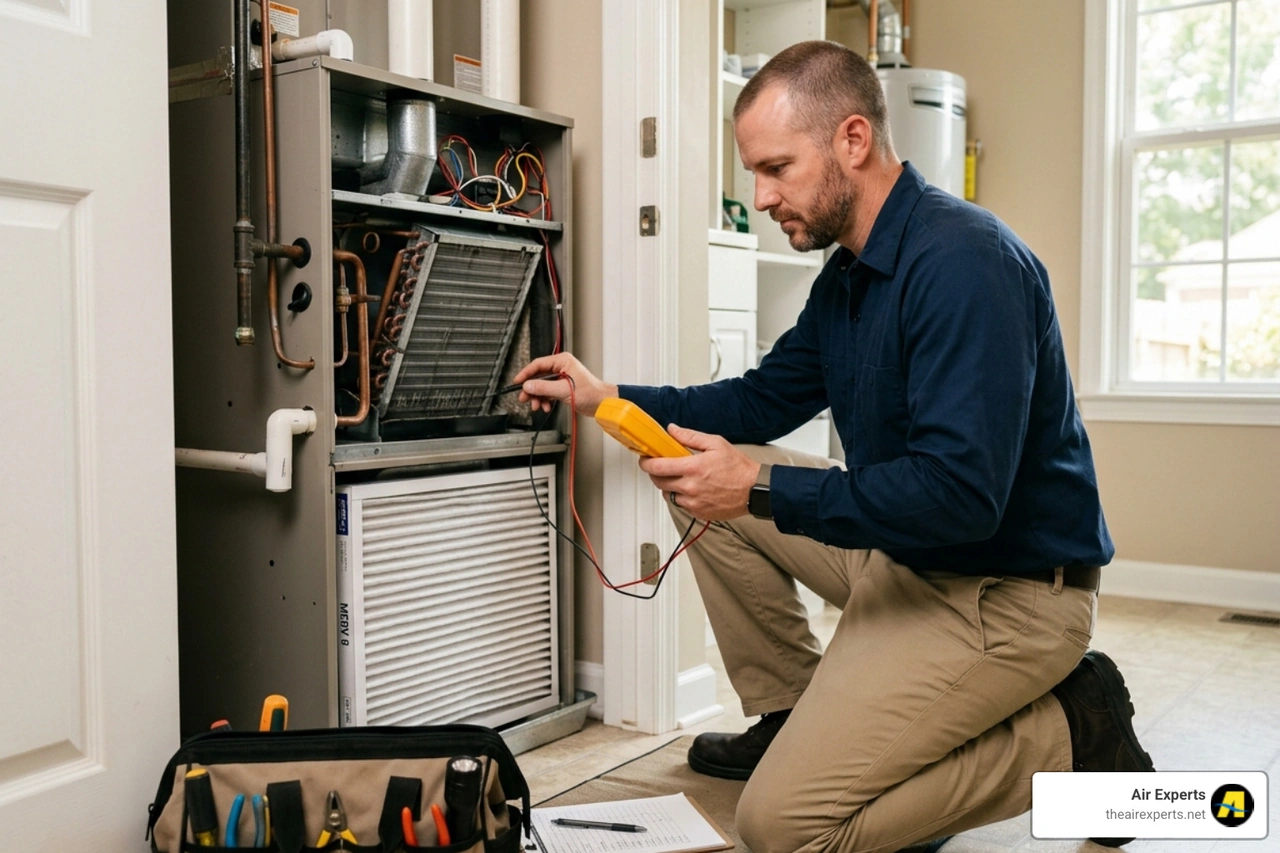
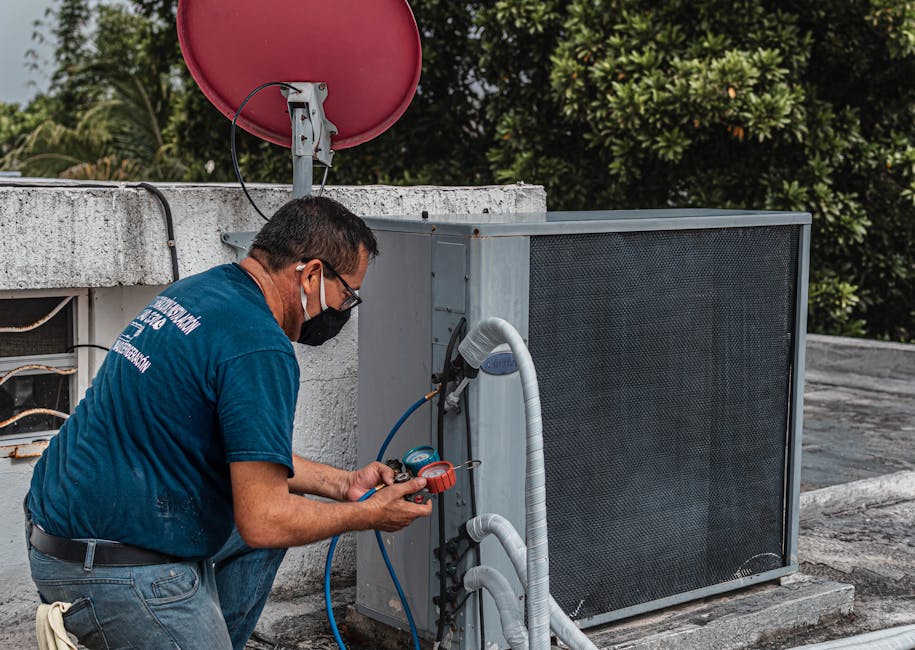
Step 5: Connect refrigerant lines and electrical wiring
This is where the precision comes in. We deburr the copper ends to ensure they are smooth, then use a flaring tool to create a perfect "bell" shape. Using a torque wrench, we tighten the flare nuts to the manufacturer's exact foot-pound specifications. For the electrical, we install a dedicated "disconnect box" near the unit, which allows us to safely cut power for future maintenance.
Step 6: Pressure test, vacuum, and start up the system
We don't just release the refrigerant and hope for the best. First, we perform a nitrogen pressure test to check for leaks. Then, we use a vacuum pump to pull the system down to 500 microns. This removes every bit of air and moisture. Once the system holds that vacuum (a "decay test"), we finally open the valves.
We finish by running the unit in cooling mode and checking the "temperature split"—the difference between the air going in and the air coming out. A healthy system should show a drop of at least 15 to 20 degrees.
After Installation: Maintenance, Troubleshooting, and When to Call for Help
A properly installed mini-split can last 10 to 15 years, but it needs a little love.
- Monthly: Wash the indoor air filters. This is the #1 thing you can do to keep your bills low.
- Seasonally: Clear any leaves or debris from around the outdoor condenser.
- Annually: Schedule a professional tune-up. We check the refrigerant pressures and clean the internal coils.
Post-install checks every homeowner should do
After we leave, keep an eye on a few things. Make sure the water is dripping steadily from the outdoor drain line when the AC is running—that means your indoor air is being dehumidified! Also, check the insulation on the outdoor copper pipes; if it starts to tear or weather, your efficiency will drop.
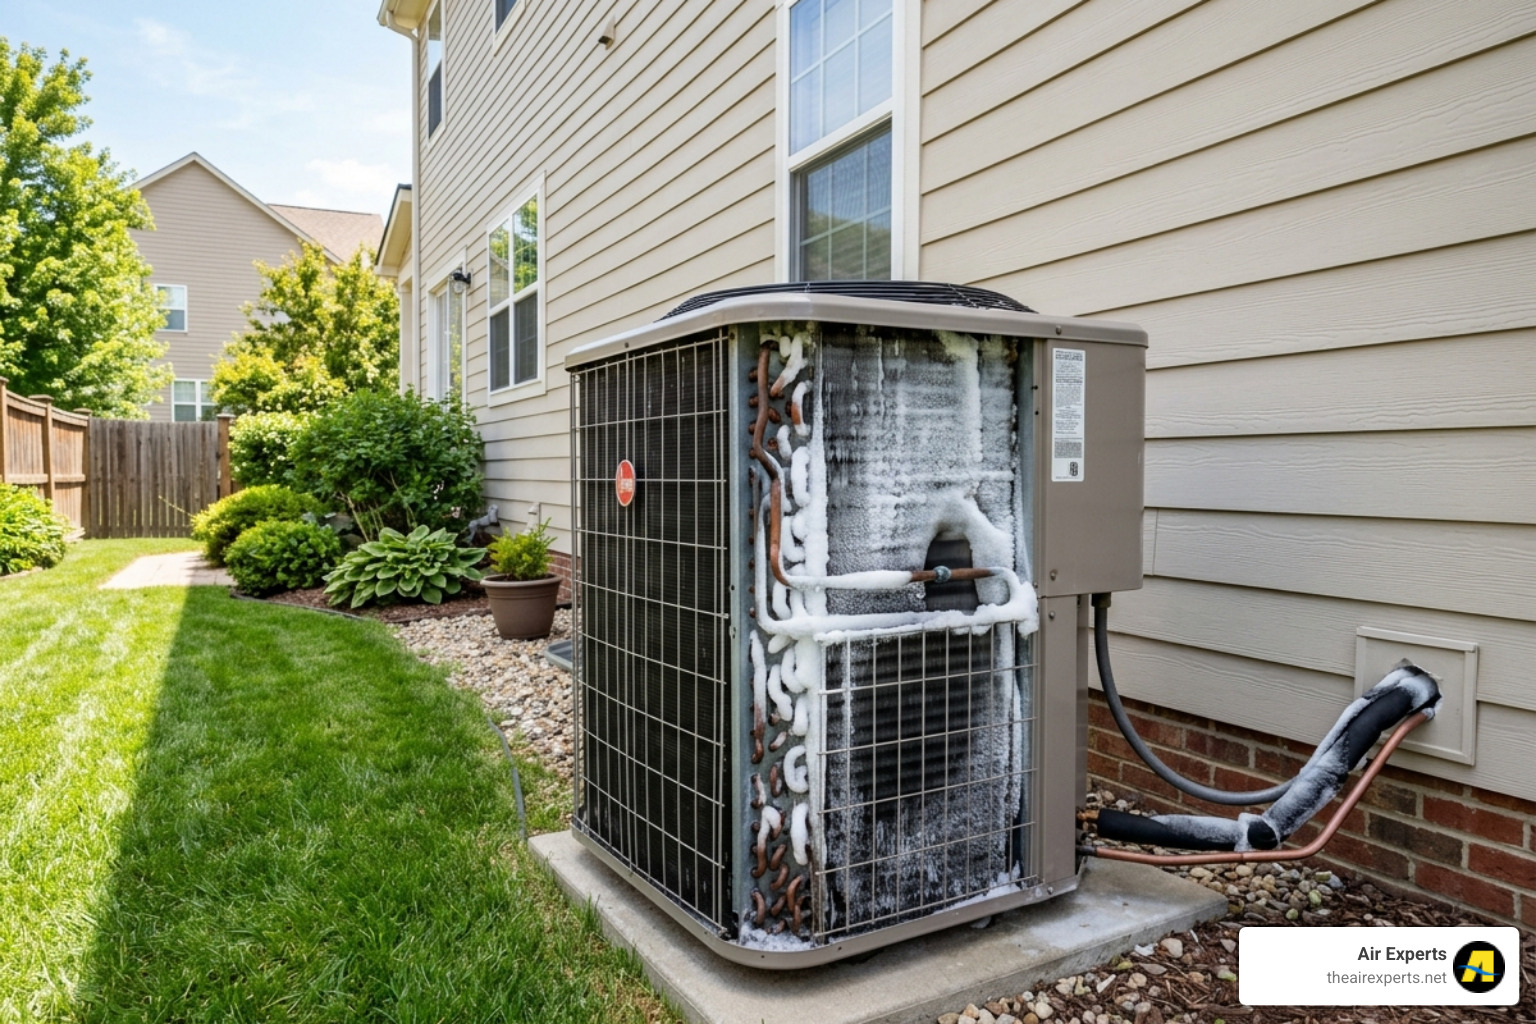
Signs the installation needs professional attention
If you notice water leaking from the bottom of the indoor unit, it usually means the drain line is clogged or wasn't sloped correctly. If you hear a "hissing" sound or notice the air isn't as cold as it used to be, you might have a refrigerant leak. In these cases, it's best to call a pro immediately to prevent damage to the compressor.
Mini Split Installation Homewood AL
Frequently Asked Questions About Mini Split Installation
Can I install a mini split myself?
While "DIY kits" with pre-charged lines make it possible for a handy homeowner to handle the physical mounting, we still recommend a "hybrid" approach. Let us handle the high-voltage wiring and the vacuum process. This ensures your warranty stays valid and your home stays safe.
How long does a typical mini split installation take?
For a single-zone system, a professional team can usually finish the job in 4 to 8 hours. A multi-zone system for a larger home might take one to two days depending on how difficult it is to route the lines through attics or crawlspaces.
What maintenance keeps a mini split running efficiently?
The most important task is cleaning the filters every 2–4 weeks. Beyond that, keeping the outdoor unit clear of landscaping and scheduling a professional inspection once a year will keep your SEER2 rating high and your power bills low.
Conclusion
At Air Experts, we believe in "No Upselling. No catch. Just Honest, Quality Service." Whether you are in Alabaster, Pelham, or Trussville, our goal is to ensure your home is the most comfortable place it can be. Understanding how a mini split installation works step by step helps you make the best decision for your property.
If you’re ready to upgrade your comfort with a ductless system, or if you’ve started a DIY project and need a professional hand to cross the finish line, we are here to help.


.svg)
.svg)


.svg)
.svg)
