.svg)
.svg)
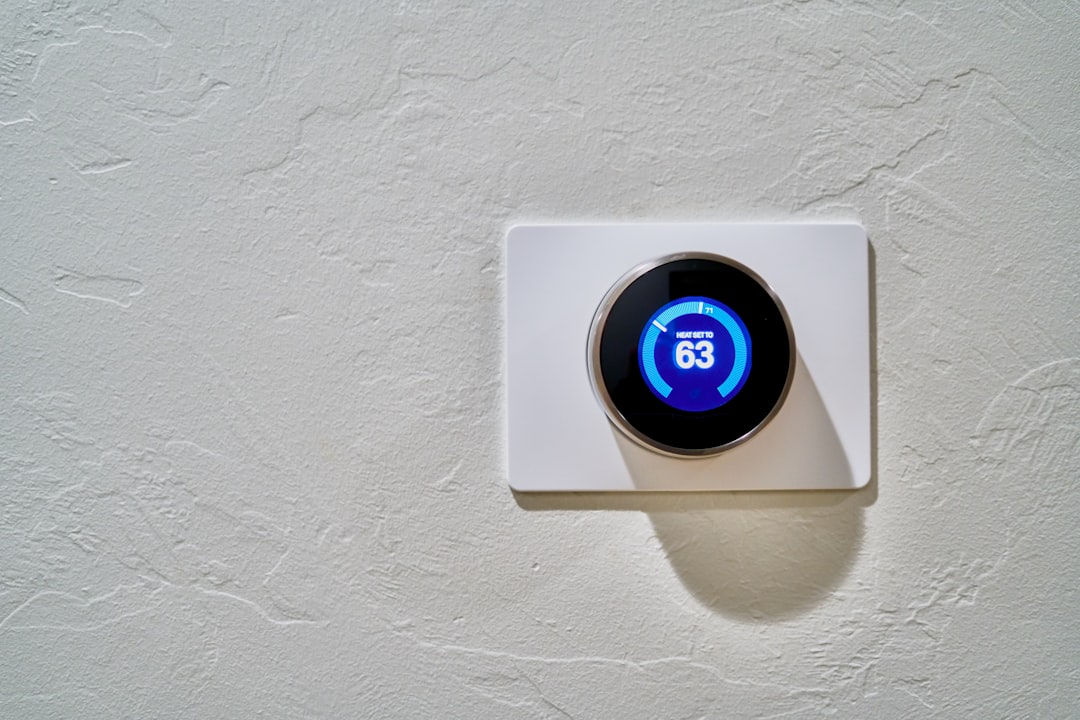
Table of contents
Why Knowing How to Check Your Thermostat Before Calling for Repair Can Save You Time and Money
Knowing how to check your thermostat before calling for repair could save you from an unnecessary service visit — and in many cases, the fix takes less than five minutes. In fact, roughly 25% of furnace repair calls turn out to be simple thermostat issues, not equipment failures at all.
Here's a quick overview of the checks you can do right now:
- Check the power — Replace batteries and confirm the circuit breaker hasn't tripped.
- Verify your settings — Make sure the mode (Heat/Cool) and fan (Auto) are set correctly.
- Apply the 5-degree rule — Set the target temperature at least 5°F above or below the current room temperature and wait a few minutes.
- Test accuracy — Tape a separate thermometer near the thermostat and compare readings after 15 minutes.
- Inspect the thermostat physically — Look for dust buildup, loose wires, or obvious damage.
If your HVAC system isn't responding the way it should, your first instinct might be to call a technician right away. That's understandable — especially when your home in the Greater Birmingham area is too hot in summer or too cold in winter. But a blank screen, uneven temperatures, or a system that won't turn on are often symptoms of a simple thermostat issue, not a broken furnace or air conditioner.
User error and basic maintenance issues are among the most common reasons homeowners call for HVAC service. Before you schedule a repair, it's worth spending a few minutes going through some straightforward checks you can do safely on your own.

How to check your thermostat before calling for repair terms to know:
- ac circuit breaker keeps tripping what it means
- ac troubleshooting tips before calling a pro
- ac troubleshooting tips before calling a professional
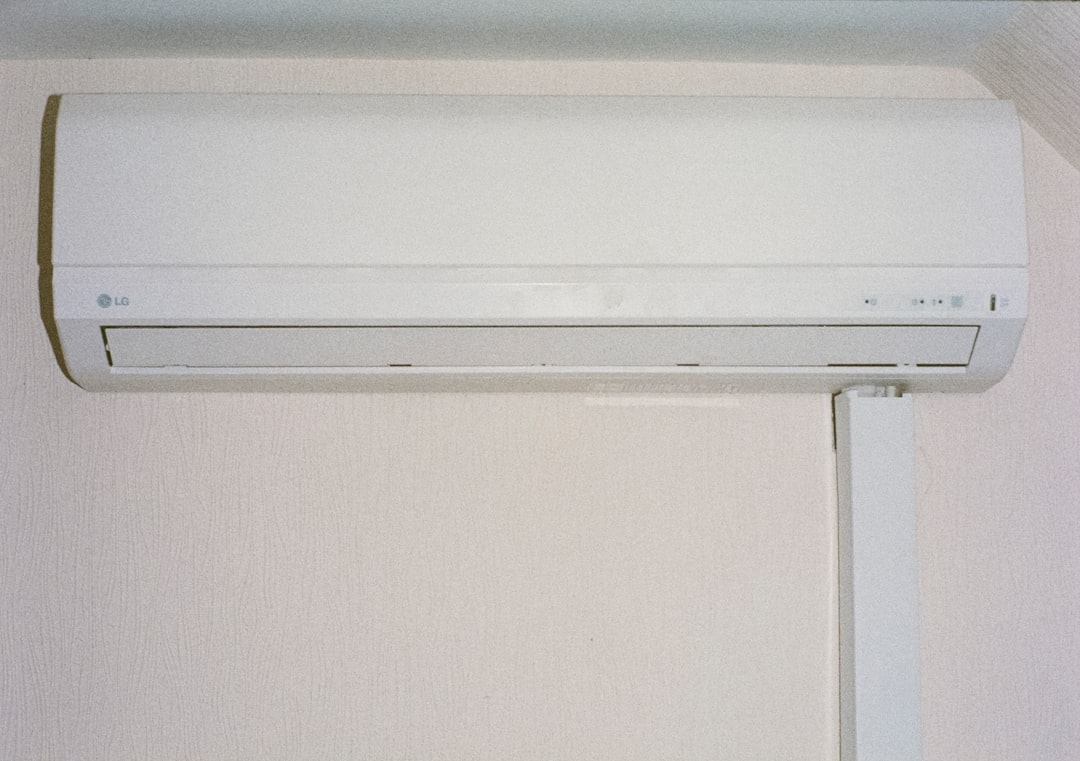
Common Signs Your Thermostat is Malfunctioning
Because your thermostat acts as the brain of your entire heating and cooling system, any hiccup in its performance can mimic a catastrophic system failure. Before you assume your air conditioner or furnace has reached the end of its life, look for these telltale signs that the real culprit is your wall-mounted controller.
- A Blank or Flickering Display: If the screen is completely dead or flashing erratically, the thermostat cannot communicate with your HVAC system.
- Inconsistent Temperatures (Temperature Mismatch): You set the thermostat to 72°F, but the room feels like a sauna or an icebox. If the displayed temperature never matches the actual comfort level in your home, the sensor may be failing.
- Short Cycling: A healthy HVAC system typically runs for 10 to 15 minutes per cycle to efficiently condition your home. If your system turns on and then shuts off after just a minute or two, your thermostat might be sending faulty signals. This "compressor killer" behavior places immense strain on your equipment.
- The System Runs Nonstop: If your air conditioner or heater refuses to shut off, even after reaching your target temperature, a stuck relay inside the thermostat could be keeping the system "stuck" in the on position.
- Forgotten Settings: If your programmable or smart thermostat randomly resets its schedule, loses Wi-Fi connection, or forgets your programmed settings, it is likely experiencing a software glitch or a complete loss of backup power.
- Sensor Drift and Skyrocketing Energy Bills: Over time, internal components can drift out of calibration. Even a temperature reading that is off by just 2°F can cause your system to work significantly harder than it needs to. Dust acting as an insulator on internal sensors can also cause "calibration drift," easily adding 5% to 10% to your monthly energy costs.
If you are experiencing any of these issues, it is time to dig deeper. You can find more details on diagnosing these issues in our comprehensive guide on what to do when you find your Thermostat Not Working.
How to Check Your Thermostat Before Calling for Repair: The 5-Step Audit
Before you reach for the phone to book a technician, walk through our essential five-step audit. These simple checks can help you isolate whether the problem lies within the thermostat's settings, its power supply, or if it genuinely requires professional attention.
For a broader look at diagnosing your cooling system, you can also review our AC Troubleshooting Tips Before Calling a Professional.
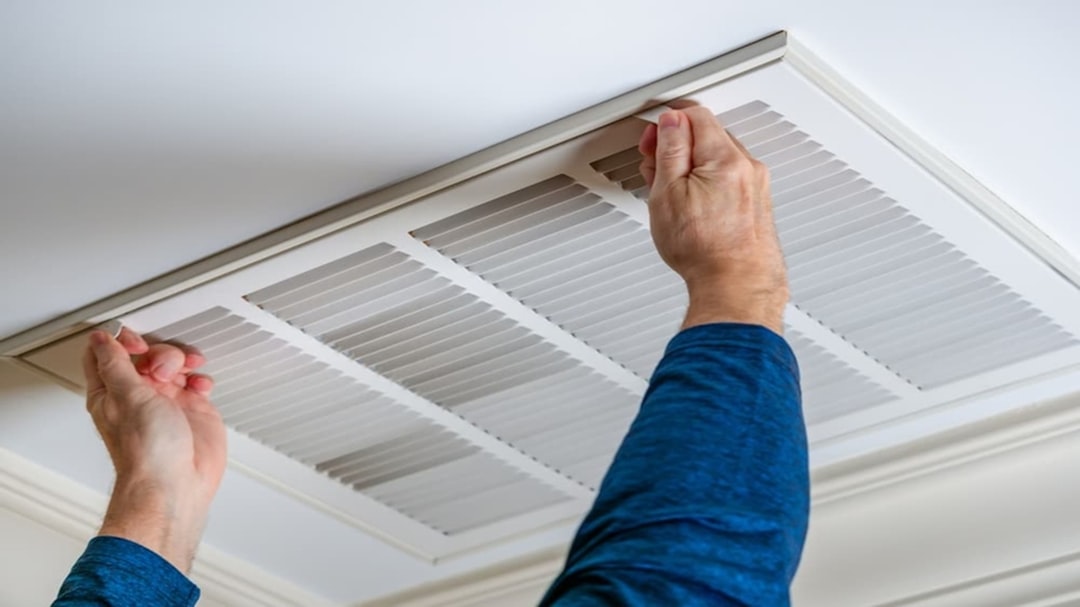
Step 1: Verify Power and Replace the Batteries
The absolute first step in thermostat troubleshooting is checking the power source.
- Replace the Batteries: Many modern digital thermostats rely on AA or AAA alkaline batteries to power their displays and retain programming. Even if your display looks fine, low voltage can cause delayed signals or erratic behavior. Pop off the thermostat faceplate and replace the batteries with fresh, high-quality alkaline batteries (avoid rechargeable ones, as they do not provide consistent voltage).
- Inspect the Circuit Breaker: Head to your home's main electrical panel. Look for breakers labeled "HVAC," "Furnace," "AC," or "Air Handler." If a breaker has tripped to the middle position, switch it completely to "OFF" and then back to "ON."
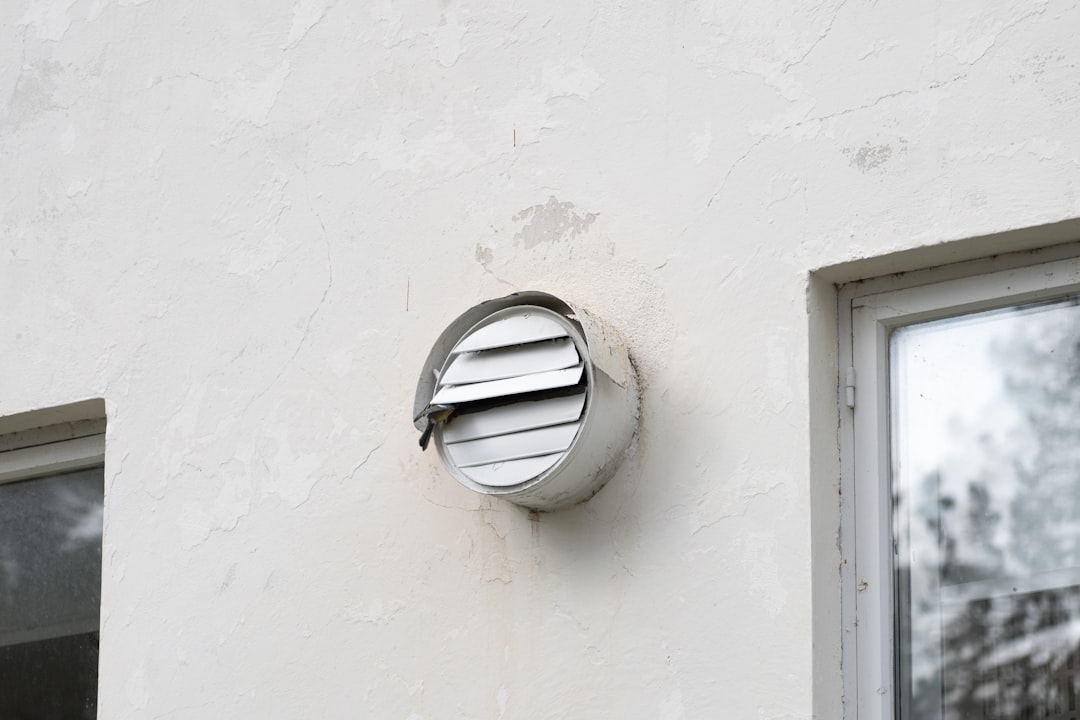
- Check the Furnace Door Switch: If you recently changed your HVAC air filter, ensure the blower compartment door on your indoor unit is completely closed. Most furnaces have a safety switch that cuts all 24V power to the entire system—including the thermostat—if the panel door is even slightly loose.
Step 2: Audit Your Mode, Fan, and Temperature Settings
It sounds incredibly simple, but user error or accidental setting changes account for a surprising number of service calls.
- Mode Selection: Verify that the thermostat is set to "Heat" in the winter or "Cool" in the summer. If it was accidentally bumped to "Off" or left on "Fan Only," your compressor or furnace will not ignite.
- Fan Settings (Auto vs. On): If your system's fan is running constantly but blowing unconditioned air, check the fan switch. Setting the fan to "ON" keeps the blower running 24/7, regardless of whether the system is actively heating or cooling. Switching it to "AUTO" ensures the fan only runs during a heating or cooling cycle, saving electricity and reducing wear.
- The 5-Degree Rule: To test system communication, adjust your target temperature at least 5°F past the current room temperature. If you want cooling, set it 5°F lower; for heating, set it 5°F higher. Wait about five minutes. You should hear a mechanical "click" from the thermostat, followed shortly by your outdoor condenser or indoor furnace kicking into action.
For more assistance with basic system settings, consult our HVAC System Troubleshooting Guide.
Step 3: Test Temperature Accuracy and Calibration
If your system is running but your home feels uncomfortable, your thermostat's internal sensor might be misreading the room.
- The Reference Thermometer Test: Use painter's tape to secure a separate, calibrated digital thermometer to the wall, placed about two inches away from your thermostat.
- Wait and Compare: Leave the thermometer in place for 15 minutes to let it adjust to the local air temperature.
- Analyze the Results: Compare the two readings. A difference of 1°F to 2°F is normal. However, if the readings differ by 3°F or more, your thermostat is suffering from calibration drift.
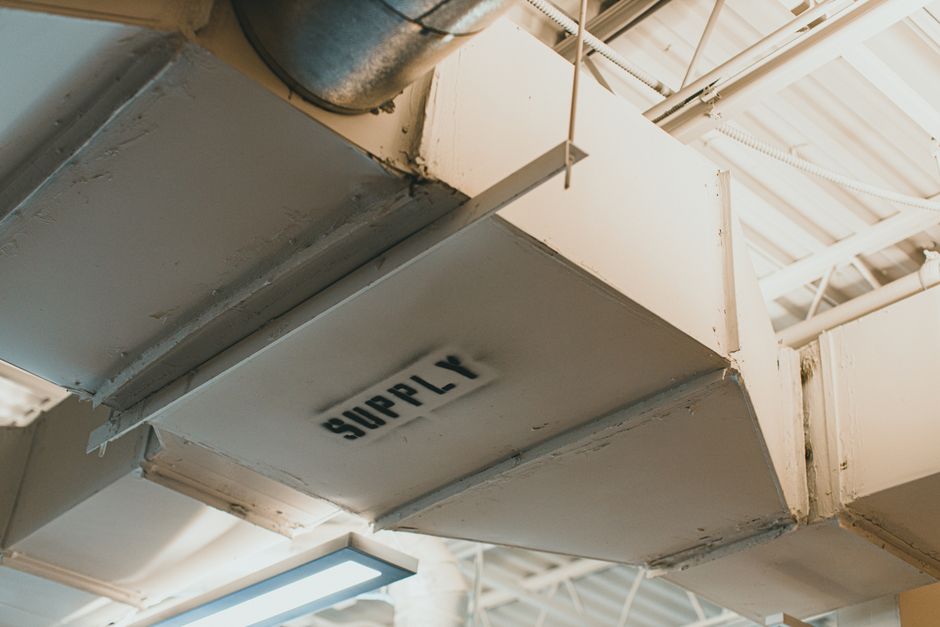
- Identify Location Bias: Ensure your thermostat isn't mounted in a problematic location. If it is placed in direct afternoon sunlight, near a drafty window, across from a supply vent, or near heat-generating kitchen appliances, it will read a "false" temperature, causing your system to cycle inappropriately.
Advanced Troubleshooting: Wiring, Cleaning, and Thermostat Types
As we look at how troubleshooting steps differ across different generations of technology, it helps to compare their features and common points of failure:
| Thermostat Type | Primary Technology | Common Failure Points | Troubleshooting Strategy |
|---|---|---|---|
| Mechanical (Analog) | Bimetal coil & mercury bulb | Dust buildup, unlevel mounting, loose calibration screw | Clean with a soft brush, level the unit, adjust the anticipator |
| Digital (Non-Wi-Fi) | Solid-state electronic sensors | Low batteries, corroded terminals, tripped safety switches | Replace batteries annually, clean terminals with a pencil eraser |
| Smart / Wi-Fi | Microprocessors & cloud connectivity | Firmware bugs, Wi-Fi drops, lack of continuous 24V power | Perform a system reset, update firmware, verify the C-wire connection |
How to check your thermostat before calling for repair by inspecting the wiring
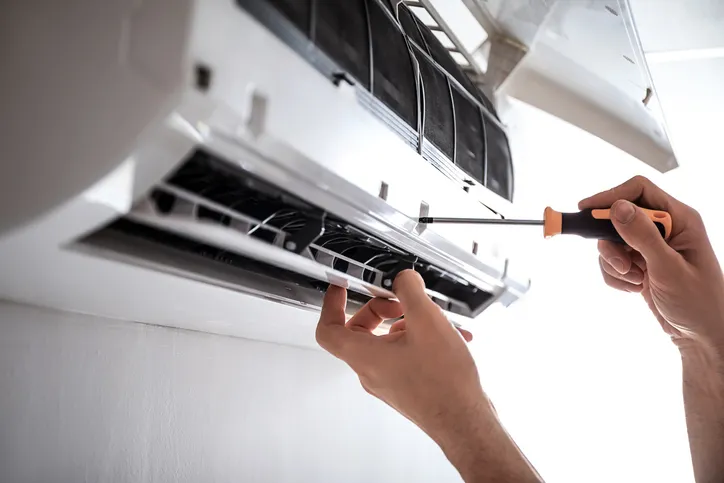
If you feel comfortable performing a slightly more advanced check, you can inspect the low-voltage wiring behind the thermostat cover.
- Safety First: Always turn off the power to your heating and cooling equipment at the circuit breaker panel before removing the thermostat wall plate. Low-voltage thermostat wires carry 24 volts, which is generally safe to handle, but touching the wrong wires together while powered can blow a tiny fuse on your furnace control board.
- Inspect Terminal Connections: Gently remove the thermostat body from its wall plate. Look at the colored wires attached to the terminals (typically labeled R, G, Y, W, and C). Ensure each wire is stripped cleanly and securely fastened under its respective terminal screw. Give each wire a very gentle tug to confirm it isn't loose.
- Look for Corrosion: Over time, humidity can cause copper wires to corrode. If you see green or white crusty buildup, disconnect the wire, clean the terminal with a pencil eraser or electronic contact cleaner, and re-secure the wire.
- The Advanced Jumper Test (Bypass Test): To definitively prove whether a problem lies with the thermostat or the HVAC unit, advanced DIYers can perform a bypass test. For heating, temporarily bridge the "R" (Power) and "W" (Heat) terminals using a small jumper wire. If your furnace turns on immediately when bridged, your thermostat is faulty and needs replacement. If it does not turn on, the issue lies within the furnace itself.
How to check your thermostat before calling for repair based on your thermostat type
Your troubleshooting approach should align with the specific type of thermostat installed in your home.
- Mechanical Thermostats: These older models use a bimetal coil that expands and contracts to tilt a mercury bulb or close a contact. Because they rely on gravity, mechanical thermostats must be perfectly level to function accurately. Use a bubble level to ensure the housing is straight. Carefully pop off the cover and use a soft paintbrush or compressed air to blow away "mischievous" dust bunnies that may have settled on the bimetal sensor.
- Digital Thermostats: If your digital display is acting up or freezing, you can perform a hard reset. Remove the batteries, insert them backward for 10 seconds, and then reinstall them correctly. This drains any residual power and resets the internal processor.
- Smart Thermostats: These advanced devices require a steady stream of power, usually delivered through a "C" (Common) wire. If your smart thermostat keeps dropping its Wi-Fi connection or losing power, it may be struggling with voltage stability. Check your manufacturer's app to see if there is a pending firmware update, as software bugs can occasionally cause sensor drift or connectivity issues.
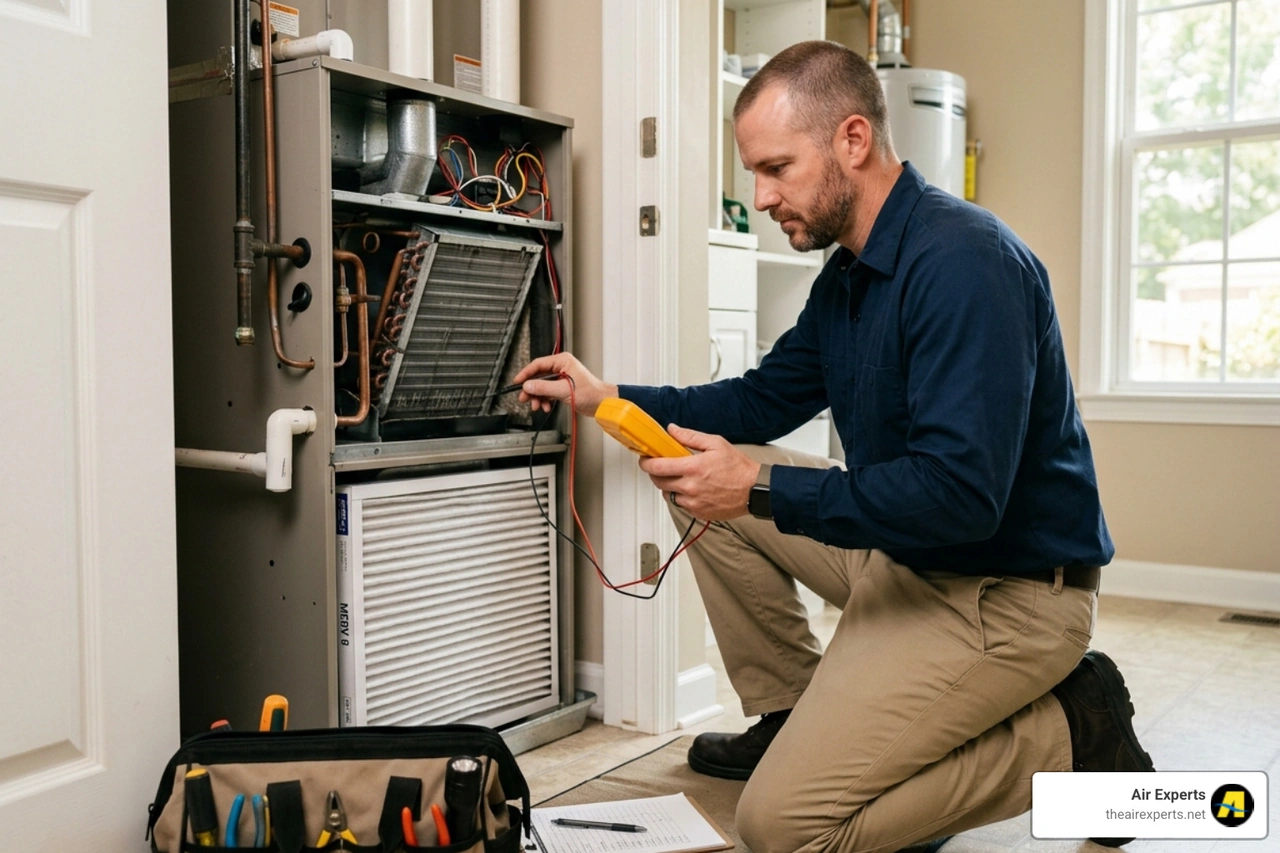
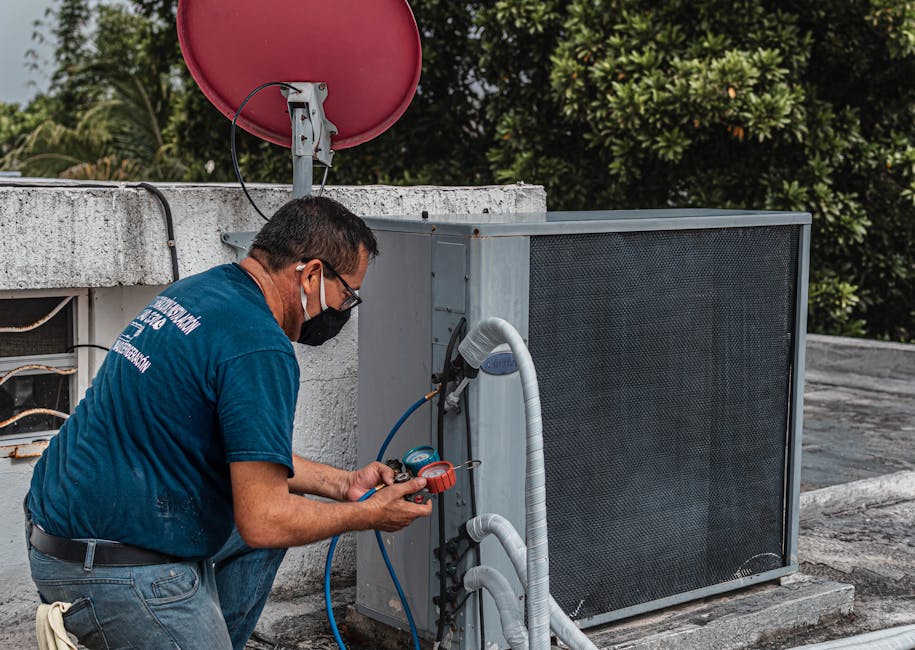
When to Stop DIY Troubleshooting and Call a Professional
While basic checks can resolve a surprising number of comfort issues, there comes a point where DIY troubleshooting becomes unsafe or ineffective.
You should step away and call a professional NATE-certified technician if you encounter any of the following:
- High-Voltage Line Systems: Most residential thermostats operate on low-voltage (24V) wiring. However, some older homes or homes with baseboard heaters use line-voltage systems (120V or 240V). If you remove your thermostat cover and see thick wires joined by wire nuts, or if the back of the thermostat is labeled "120V," do not touch the wiring. High voltage carries a severe risk of electrocution.
- Burnt or Scorched Wiring: If you smell burning plastic or see black scorch marks on the thermostat wall plate, shut off the breaker immediately and call us. This indicates a serious electrical short.
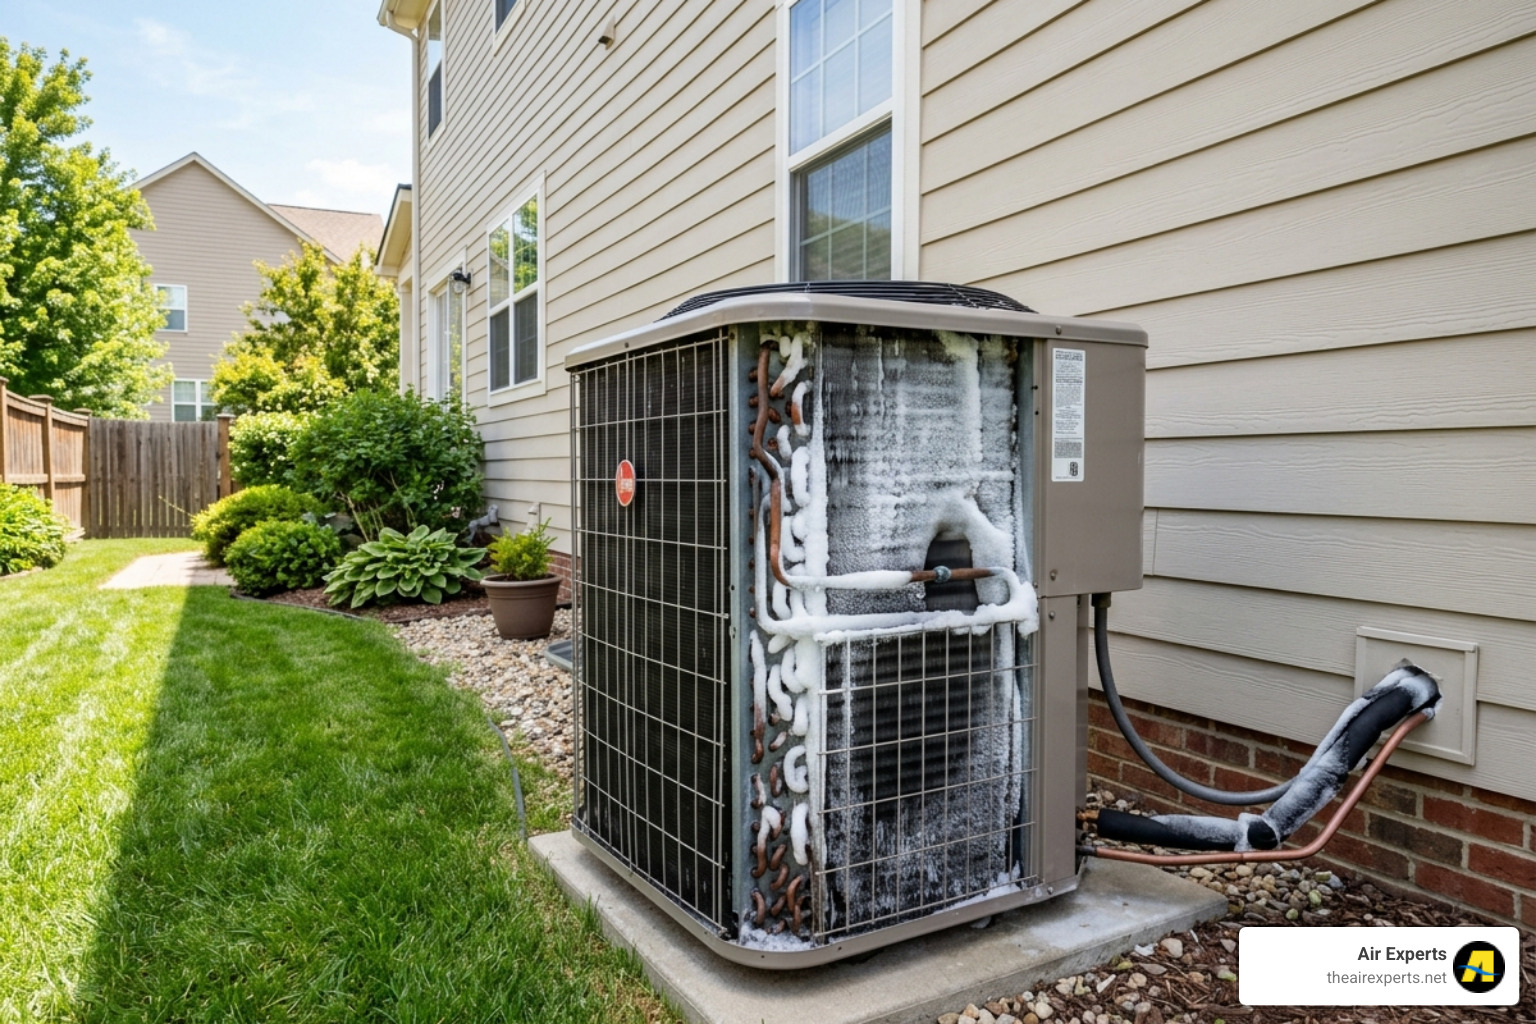
- Persistent Short Cycling: If your system continues to turn on and off rapidly even after you've changed the air filter, replaced the thermostat batteries, and verified settings, the issue could be a failing compressor, a clogged condensate drain line, or a faulty control board.
- No Response After a Bypass Test: If you bridged the jumper wires and your indoor blower or outdoor unit still failed to respond, the problem lies deep within your heating or cooling equipment.
If your system is running but simply not keeping you comfortable, read our guides on what to do when your AC Blowing Warm Air, Why AC Turns On But Doesn't Cool, or when you have a Heater Blowing Cold Air.
Frequently Asked Questions About Thermostat Troubleshooting
How often should I replace my thermostat batteries, and does it affect performance?
We recommend replacing your thermostat batteries once a year as part of your preventative maintenance routine. A great way to remember is to swap them out every autumn at the same time you check your smoke detector batteries.
Low batteries absolutely affect performance. Before they die completely, weak batteries can cause the display to dim, trigger delayed communication with your HVAC system, and lead to inconsistent indoor temperatures. Always use high-quality alkaline or lithium batteries rather than rechargeable ones to ensure a steady, reliable voltage.
Can a bad thermostat really increase my energy bills, and by how much?
Yes, a malfunctioning or miscalibrated thermostat can significantly increase your monthly utility bills. If your thermostat suffers from a 3°F sensor drift, it may think your home is warmer than it actually is, causing your air conditioner to run for hours longer than necessary each week.
This extra runtime translates directly into higher kilowatt-hours on your bill. Depending on the severity of the calibration drift or if your system is caught in a constant short-cycling loop, a faulty thermostat can easily increase your heating and cooling costs by 10% to 25%.
How do I know if the problem is my thermostat or my furnace?
The easiest way to isolate the issue is by performing the "Fan-Only" test. Walk over to your thermostat and switch the fan setting from "Auto" to "On" while leaving the system mode set to "Off."
If your indoor blower fan kicks on and starts circulating air through your vents, it proves two things: your thermostat is successfully communicating with your indoor unit, and your furnace has electrical power. If the fan works perfectly but your home won't heat when you switch the system back to "Heat" mode, the issue is likely a component failure within the furnace itself (such as a bad igniter or flame sensor), not the thermostat.
Conclusion
Taking a few minutes to learn how to check your thermostat before calling for repair can save you from a stressful day of waiting for a technician, not to mention saving you money on an unnecessary service call. From replacing weak batteries to cleaning out dust bunnies, many common thermostat issues are well within a homeowner's ability to fix.
However, if you have walked through these steps and your home in Hoover, Trussville, Pelham, Chelsea, or anywhere in the Greater Birmingham area is still uncomfortable, we are here to help. At Air Experts, we stand firmly behind our promise: "No Upselling. No catch. Just Honest, Quality Service."
We will diagnose your comfort issues quickly, explain the solution clearly, and get your home back to the perfect temperature. Schedule your professional HVAC service today and experience the honest, quality care your family deserves!


.svg)
.svg)


.svg)
.svg)
